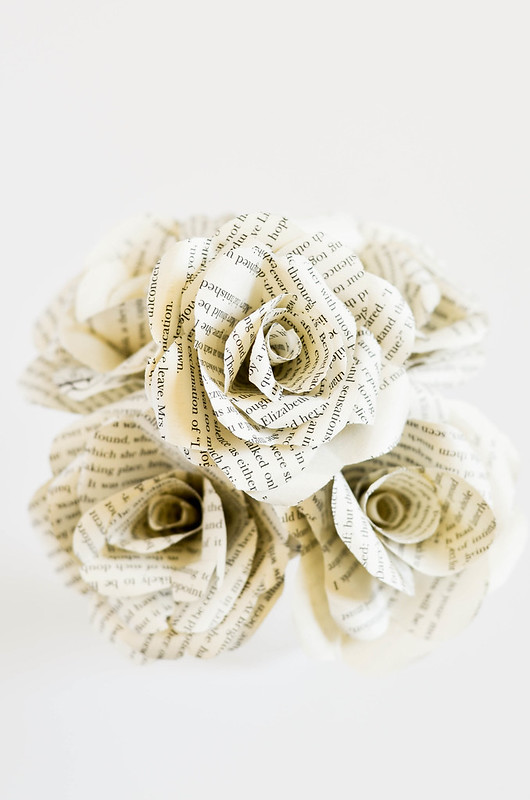
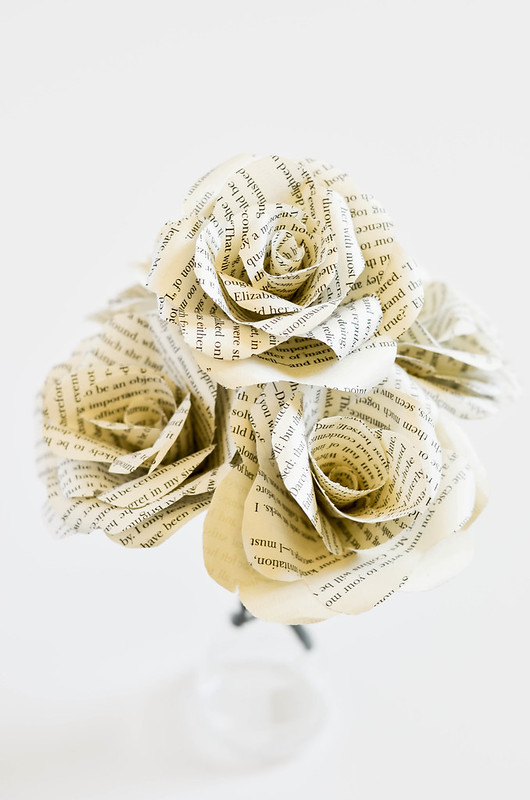
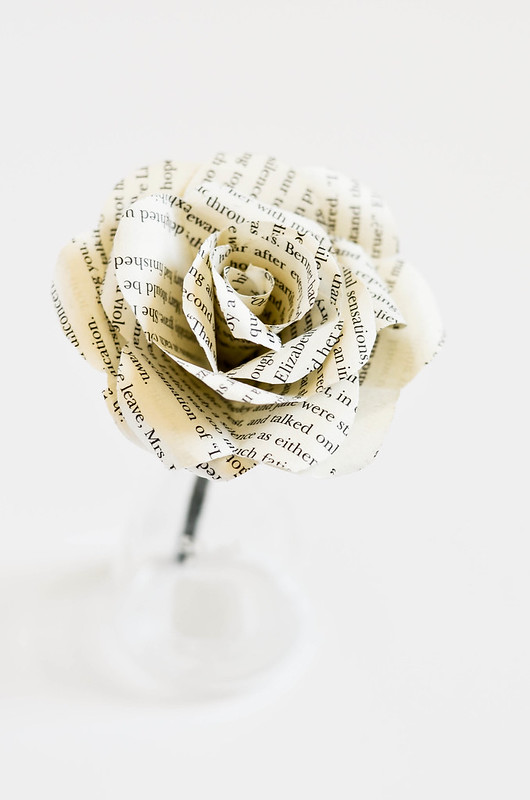
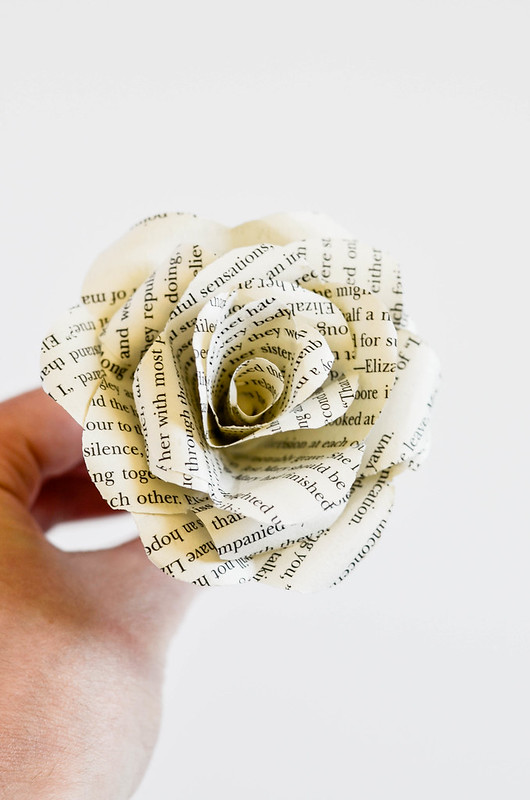
Today, I’ve got some gorgeous book flowers that are perfect for weddings, showers, or decorating your home! I’ve been in the process of coming up with ideas for my wedding, and I totally plan on incorporating book flowers into my bouquets. I had to test out many different ways to make these roses before I decided on a process that is both quick, easy, and turns out with really pretty roses!

With my cousin getting married in less than a month, my sister planning her wedding, my best friend just getting engaged, and me mostly avoiding planning my wedding 😉 , it’s hard not to get swept up into it and get lost on Pinterest for hours… and hours, and hours. Since I have a ton of book pages left from when I made my Kindle book cover, I decided I better start actually doing something to feel like I’m making a little bit of progress, even if I don’t even have a wedding date yet. 😉

These flowers really couldn’t be much easier to make — you do some folding to make most of the petals in one shot, which is way easier than some tutorials I’ve found that you individually cut and shape each petal. I did one flower like that and felt super stressed out by the end of it… I can’t make a billion flowers for bouquets if I’m going to feel like that after a single flower!

I like that these flowers are done sort of free hand so each set of petals is different instead of cookie cutter looking flowers that don’t look natural at all. I’m planning to paint some of the book pages with water colors to add some color when it’s actually time for my wedding.

You can use whatever used book you’d like for this — my choice was my Pride and Prejudice pages I already had, which goes perfectly for a wedding, especially because it’s one of my favorite books. 🙂 I love catching little glimpses of Elizabeth and Mr. Darcy’s names!

All you need to make these are book pages (or scrapbook paper if you don’t want book pages), a ruler, scissors, mod podge (or other glue), floral tape for the stems, and lollipop sticks or other stick-type things for the stems. It couldn’t be easier! Now let’s get on with the tutorial!
- book pages or scrapbook paper, cut into 4-inch squares (or larger)
- ruler
- scissors
- mod podge (or other glue)
- lollipop sticks (or floral wire folded in half with a bead in the middle to secure it)
- floral tape

Follow along with the pictures above (written directions in line with the numbers on the picture):
1. Start with 3 book page squares, at least 4 inches across. You can make these bigger if you would like, but I wouldn't go much smaller, as it gets harder to fold.
2. Fold each square in half, making a triangle.
3. Fold each piece in half again.
4. Fold each piece in half again!
5. Snip off folded corner at the bottom so it will create a SMALL hole that you can put the stem through. Cut the top (the open part) into a rounded petal shape. It will look like half a heart. Repeat with each piece!
6. Unfold the petals.
7. Cut out ONE section (a section is each little half heart shape traced by the folds) from the FIRST petal only.
8. Cut out a chunk of TWO sections from the SECOND petal only.
9. Cut out a chunk of THREE sections from the THIRD petal only. Save each of these cut out pieces -- they will create the center of the flower!
10. Starting with the smallest cut out piece, roll it into a cone shape and glue the edges together.
11. Roll the second cut out piece and glue the edges together, just slightly overlapped.
12. Continue creating the cone shape with the third cut out piece, gluing the edges together.
13, 14, 15. For the larger petals, apply glue to one whole folded section of petal, and glue together by overlapping with another whole folded section, starting with the smallest of the petals (the one you cut three sections out of). Repeat with the other two petal sections that you cut two and one section from, respectively. You will end up with 4 folded sections (petals) visible on the smallest petal shape, 5 on the middle shape, and 6 on the largest.
Using your lollipop stick, gently roll over the edges to give them appearance of blossoming.
16. Either using a lollipop stick or a piece of flower wire folded in half with a bead placed in the center, start assembling your flower! Begin with the smallest center piece, placing a dot of glue into the center and pushing the stick through the hole.
17. Apply glue to the outside of the layer you just put on the stick, and slide the 2-petal cone onto the stick, lightly pinching until the glue has set.
18, 19, 20, 21. Repeat step 17 by applying glue to the previous layer, and sliding the next layer on, always adding the next size up with each layer.
22. Once all layers are glued on, wrap the stem with floral tape to make it look complete (this is optional).
All done!! Repeat steps to create more flowers.
https://cookingalamel.com/2016/04/diy-book-flowers.html


