cooking ala mel

healthy recipes and the occasional craft

facebook instagram pinterest RSS Feed email bloglovin' goodreads
  • Home
  • About
    • Links and Resources
  • Contact
  • Recipes
    • Appetizers
    • Drinks
      • Cocktails
      • Smoothies/Milkshakes
    • Soups
    • Salads
    • Baked Goods
      • Muffins
      • Quick Breads
      • Scones/Biscuits
      • Yeast Breads
    • Breakfast
      • Donuts
      • Eggs
      • Granola/Bars
      • Oatmeal
      • Pancakes/Waffles
    • Main Dish
      • Beef
      • Chicken
      • Pasta/Grains
      • Pizza
      • Pork
      • Sandwiches
      • Seafood
    • Side Dishes
    • Sauces/Spreads
    • Gluten Free
    • Ingredients
    • Pets
    • Desserts
      • Brownies/Bars
      • Cake
      • Candy
      • Cookies
      • Cupcakes
      • Frozen Treats
      • Pies/Crumbles
      • Pudding/Custard/Sauces
    • Roundups
  • DIY
    • Crafts
    • Decorating
    • Geek
    • Homemade Gifts
  • Lifestyle
    • Things I’m Loving
    • Travel
    • Wedding

Homemade Kindle Book Cover

January 14, 2012

So, I got a Kindle for Christmas.  Don’t get me wrong, I love the feel and smell of an actual book in my hands when I’m reading, but I also do quite a bit of online reading, namely fanfiction of the Harry Potter variety.  When my dad suggested looking into getting me a Kindle, I was all for it; I’d rather not have my eyes get worse than they already are from the backlit screen of my computer (don’t even get me started on how blind I am..).  The book page quality of the Kindle Touch’s screen is quite a sight for sore eyes..literally.  I don’t get really exhausted anymore from reading my fanfiction!  And I’ve already gotten as many classics that interest me as I can get my hands on.

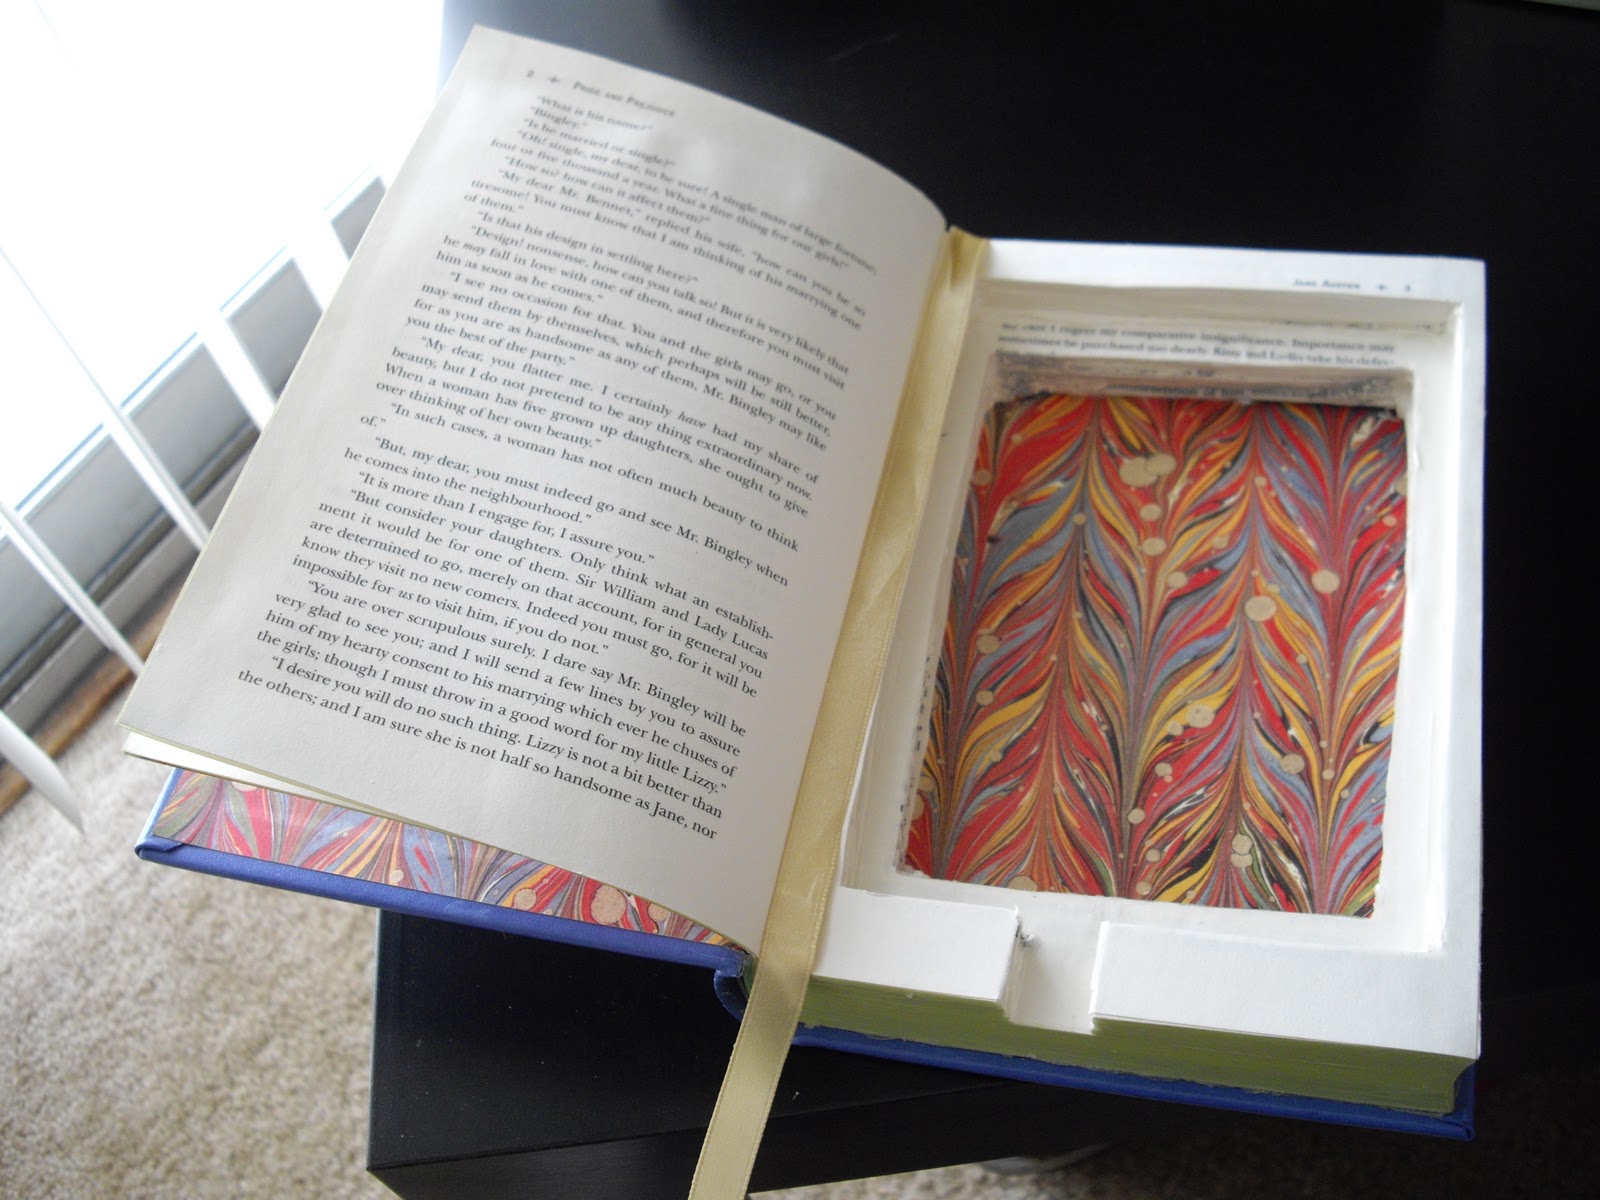
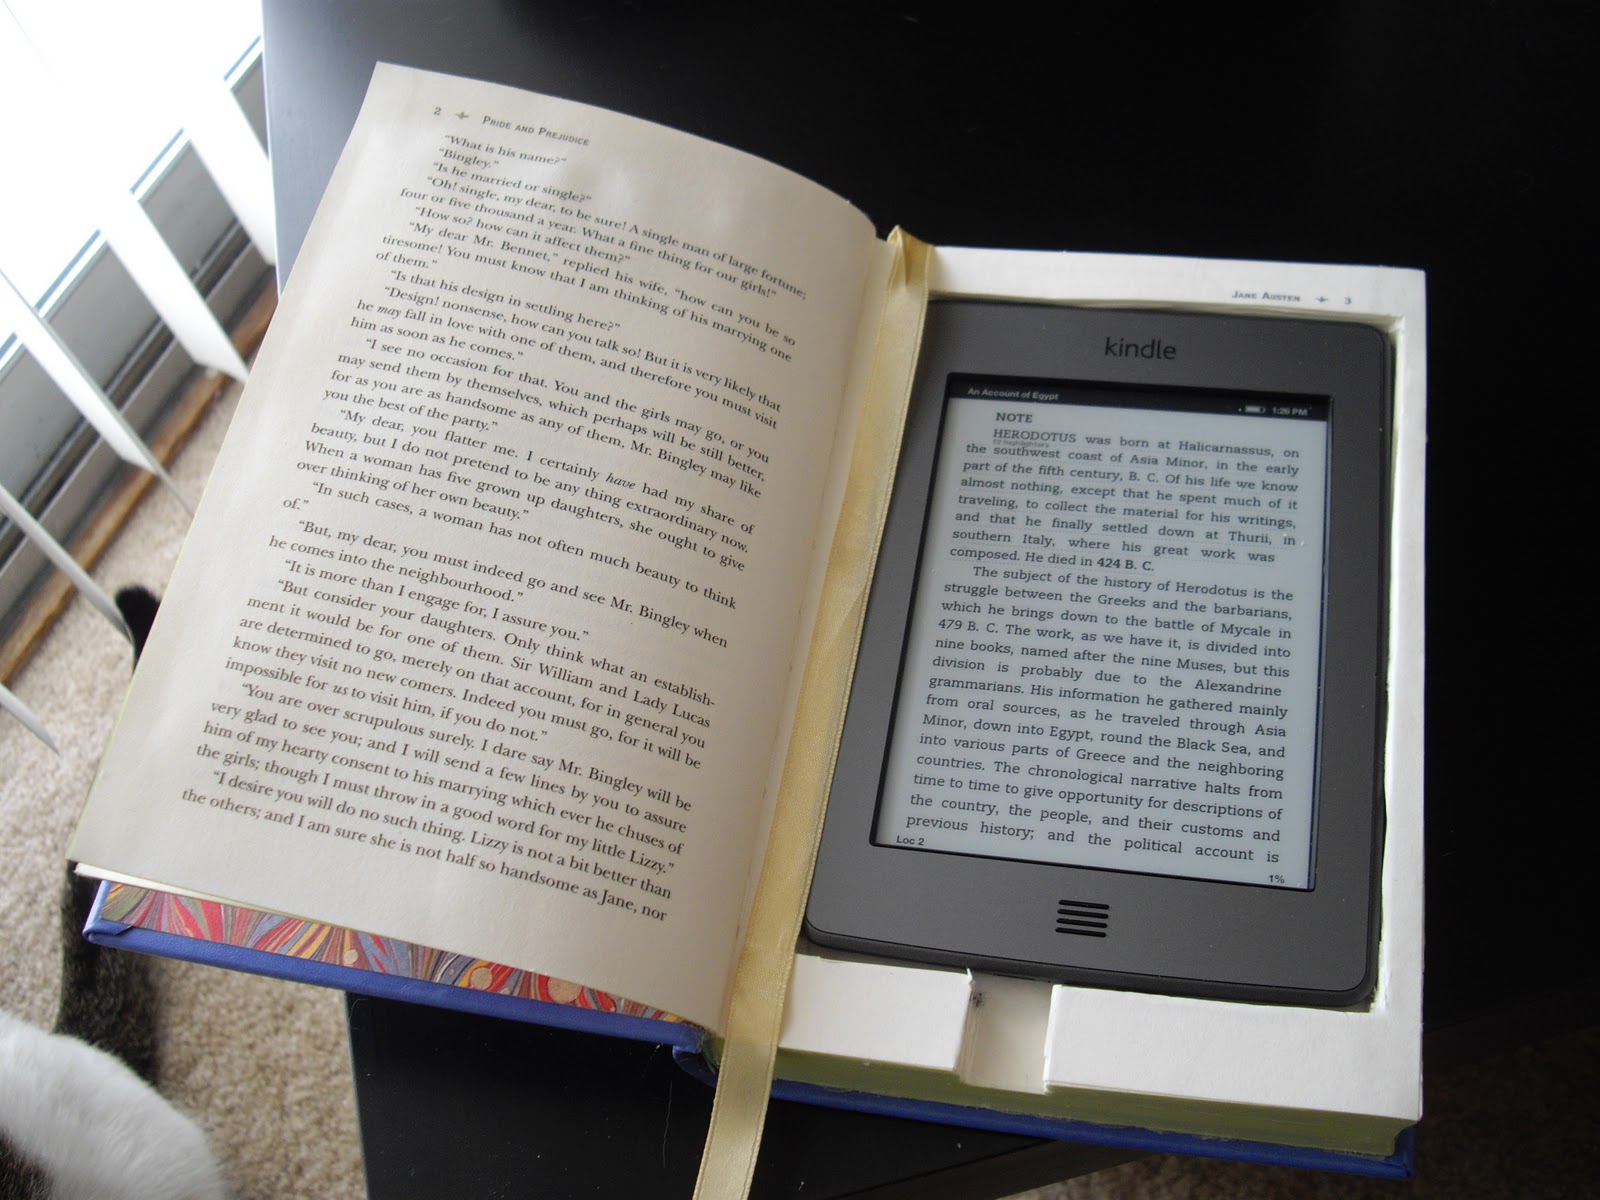
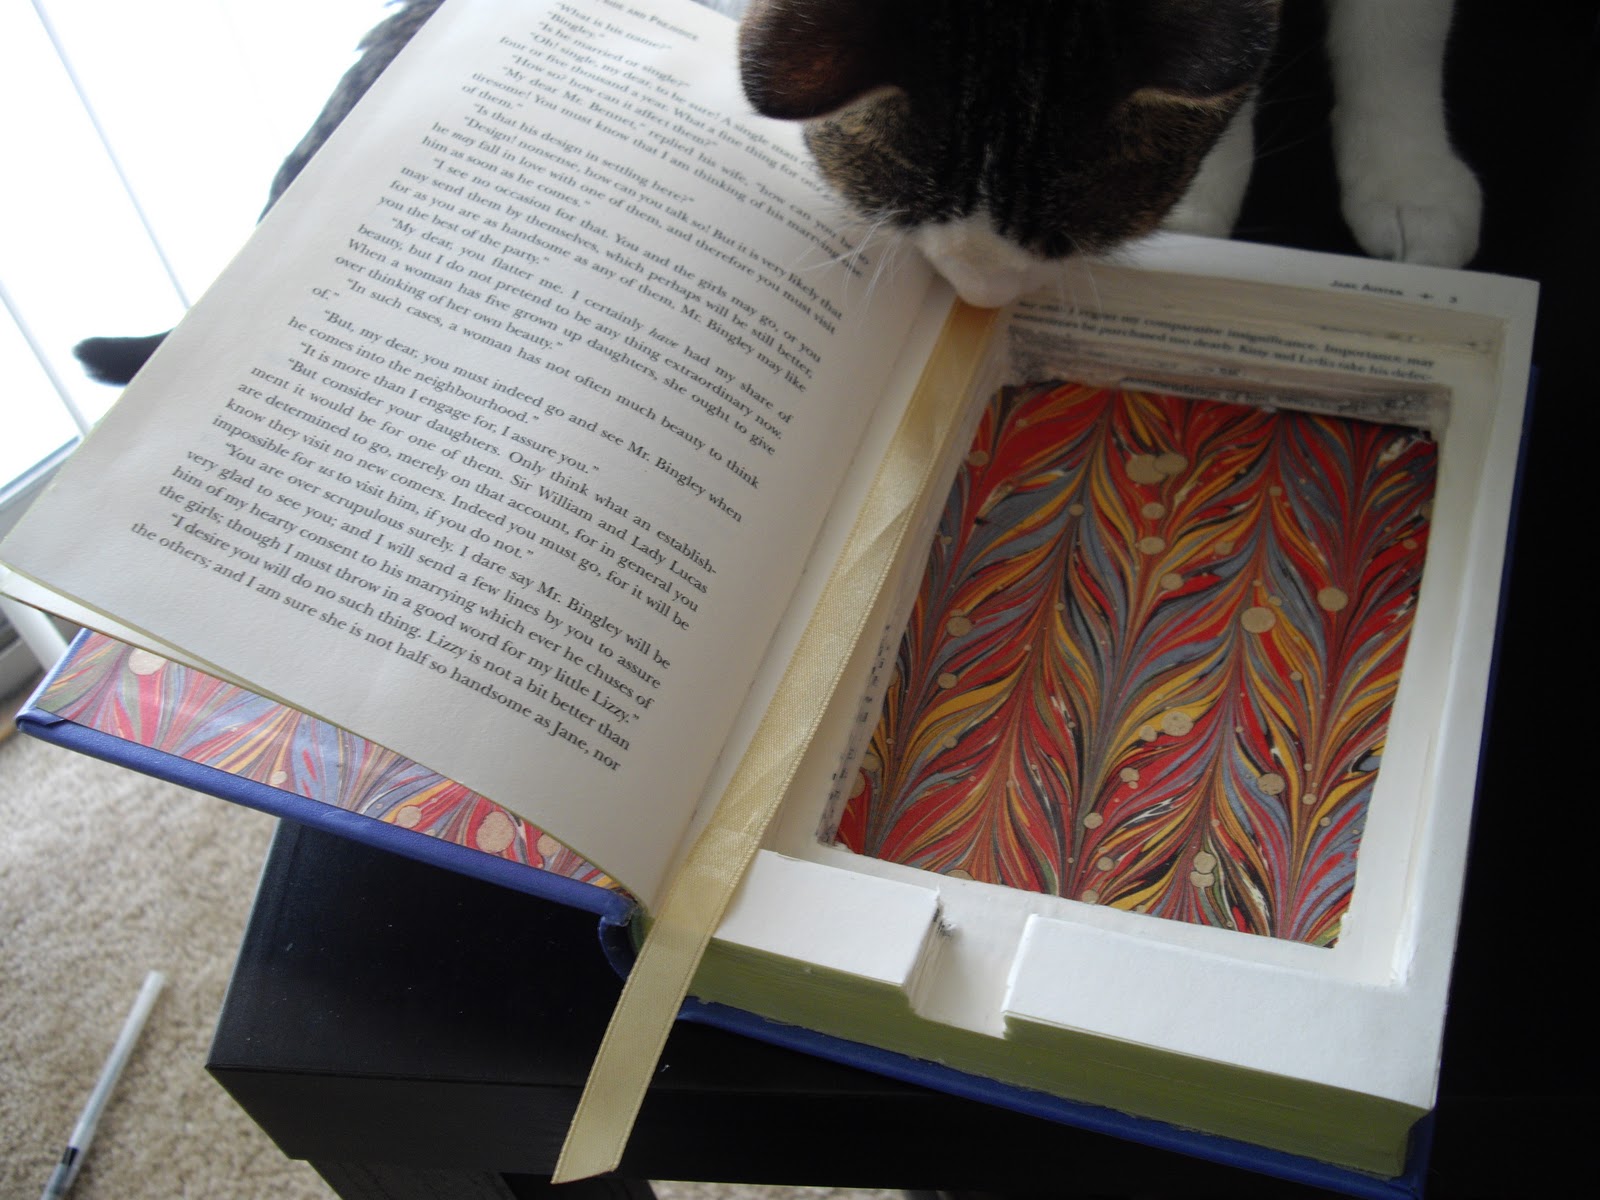
But then, of course, I wanted a cover for it.  I don’t trust myself with being able to take care of it when traveling, or even just having it laying around the apartment.. if you saw most of my favorite books, you’d understand why.  I really didn’t like Amazon’s choices for Kindle covers, and they’re really a bit pricey, for what they are.  I then found a few homemade covers on etsy that were made with hardcover books, which gave me some inspiration.  Most of the ones I found on etsy just removed all of the pages and put some elastic in to hold the kindle in place.  I wanted my kindle to really fit in perfectly, so I figured I’d hollow out a book and make sure it fit snugly.

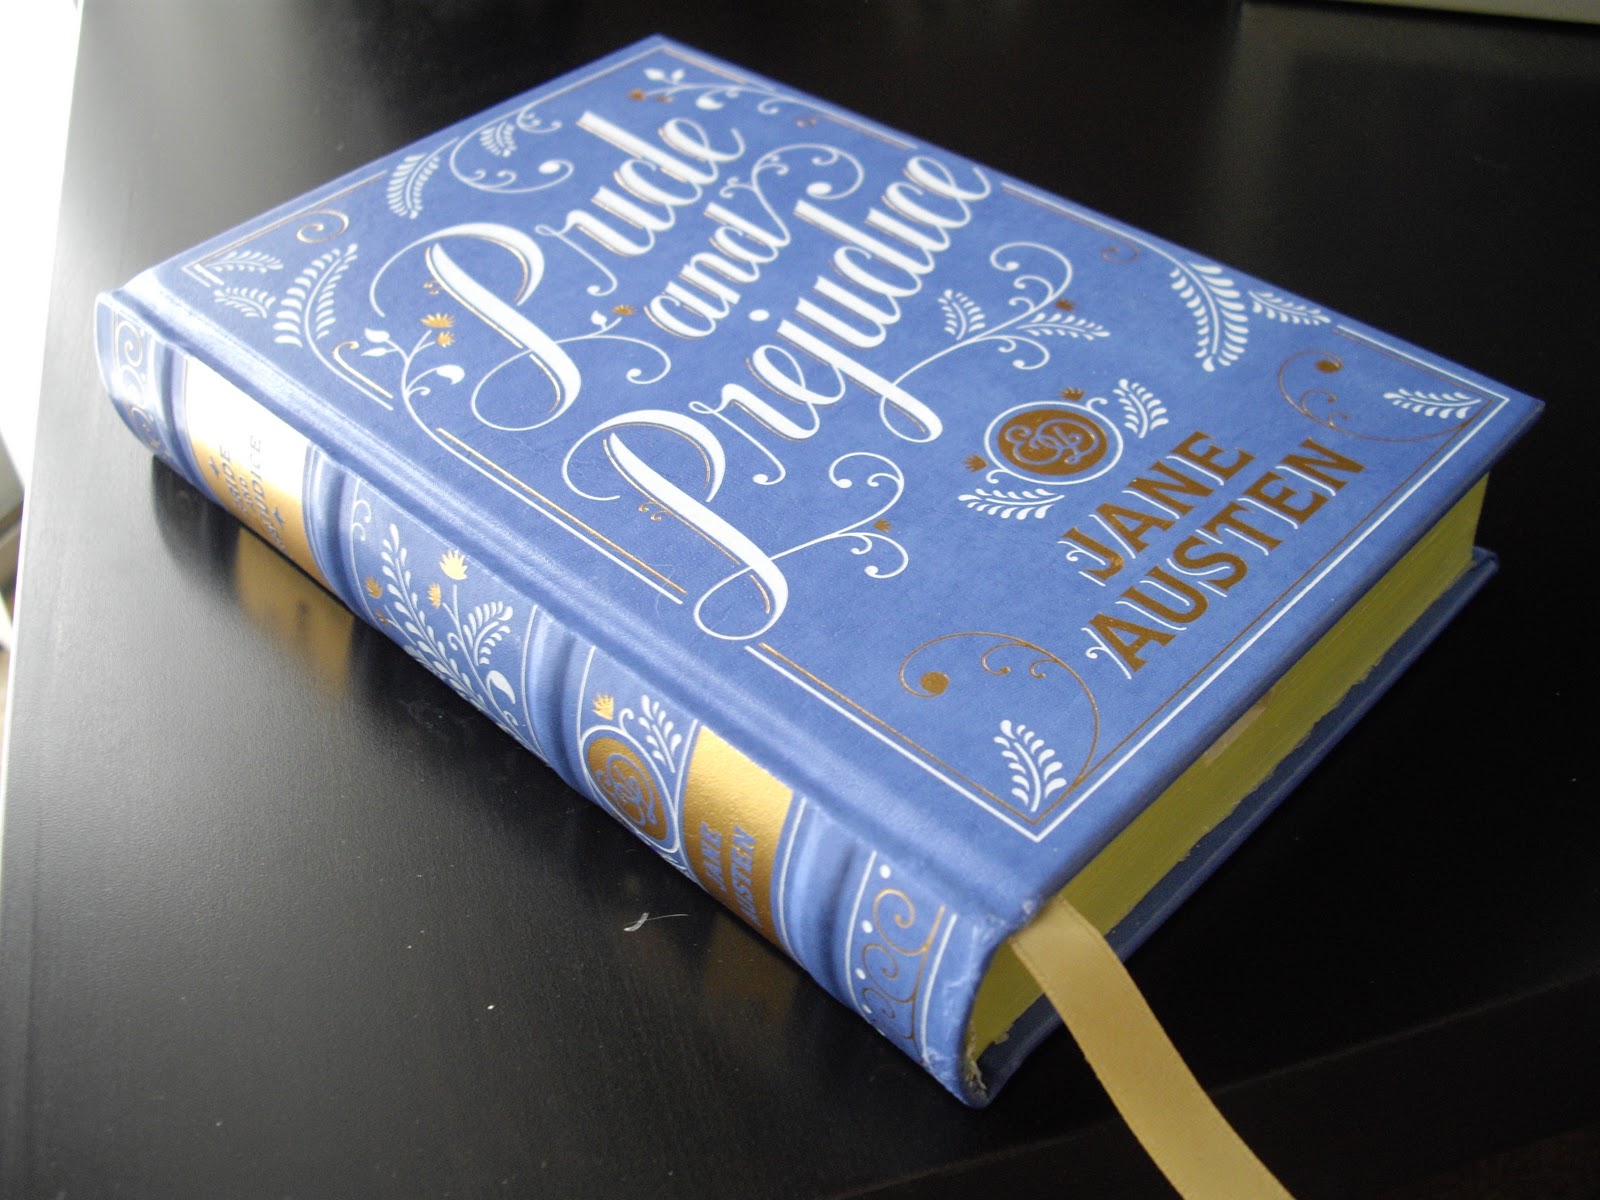
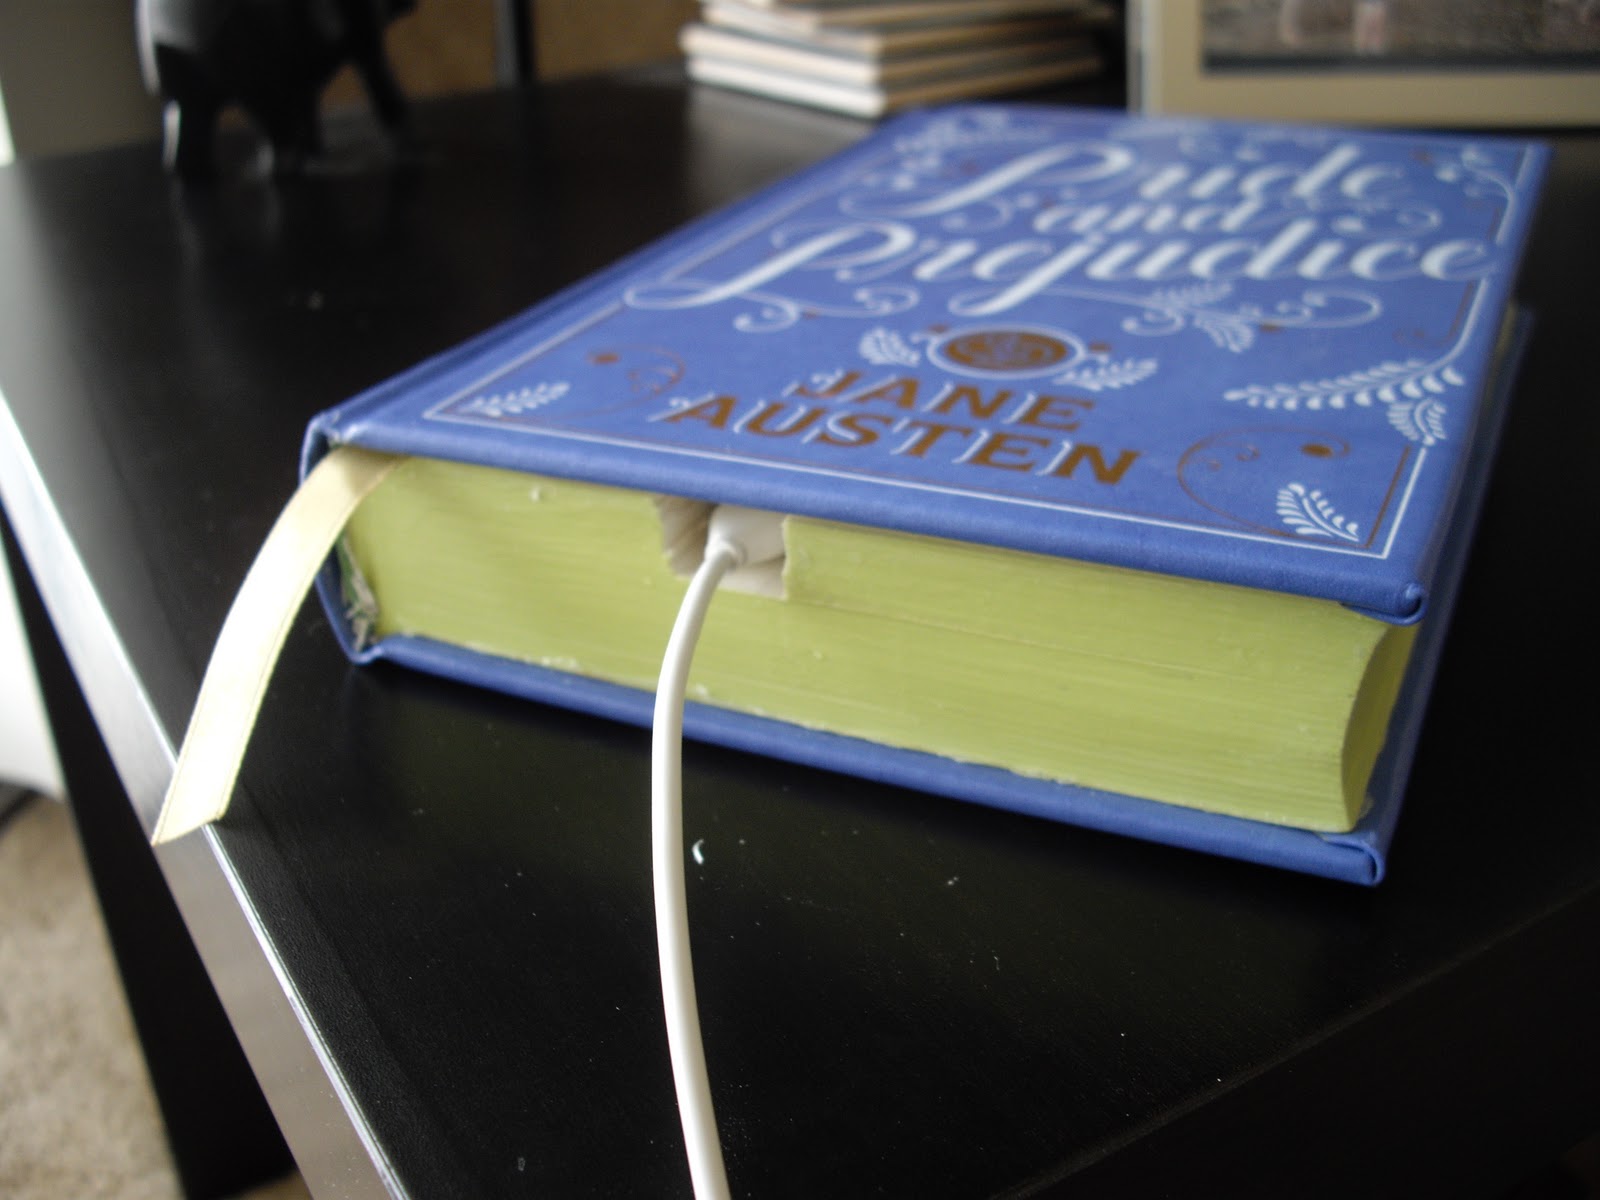
Finding the perfect book, though, was a bit of a challenge.  I wanted it to be one of my favorites – Harry Potter, the Chronicles of Narnia, or Pride and Prejudice – and have a really nice cover.  I couldn’t even imagine cutting into Harry Potter, so that was out.  The Chronicles of Narnia is just a bit too thick if it’s all of the books, but too thin for what I wanted if it was just one of them.  So Pride and Prejudice it was decided to be.  Most of those hardcovers aren’t the prettiest, though.  The only one I really liked was from Barnes & Noble, but it just seemed too nice to cut into.  But then, they were placed on sale for $10.80, and I decided I had to get it.  So I ordered one for myself to keep and one to cut up..

Seriously, how gorgeous is this book?!  It took everything I had in me to cut into it; it felt like one of the deadliest sins, really..but anyway.  After a bit of measuring my kindle and planning it out in my head, I turned on Lost in Austen and got to work.

What you will need:
1 Hardcover book                     Plastic Wrap
Mod Podge                               Masking Tape
(or 80% Elmer’s glue, 20% water mixture)
Brush for the glue                     Utility Knife with NEW blade!
First, I looked through the book and found the page where Darcy confesses his feelings to Elizabeth.  I cut it out and placed it aside, just in case I wanted it to glue onto the bottom of the hollowed out section later.  The page that was in the back of the book though was so pretty, I didn’t end up using it, but no matter.  I’m glad I have it.  Perhaps I’ll frame it.
I then chose how many pages I wanted in the front before I began hollowing it out, turned one page PASSED the one I wanted, and then wrapped those pages plus the front cover in plastic wrap and taped it shut.  I chose to start hollowing right after the first page of the first chapter.  I then took the last page of the book that was just pretty and decorative and plastic wrapped it with the back cover and spine and taped those shut.  I then brushed mod podge along the edges of the book (the more glue, the better), closed the book and stacked my box set of HP on top, two chemistry books and a 20-lb kettlebell for good measure, to ensure the pages were tightly glued together.
After about a half hour, it was dry, and I marked down the measurements for where I should hollow, my rectangle measuring about 10 cm by 15 cm.  I made the initial hole smaller than my Kindle so that I could store things beneath it.  For this part, don’t worry about marking up the page as much as you need to; the one page extra that was wrapped in the plastic wrap will be glued on top at the end, so you’ll no longer see any marks.
With a new blade on my utility knife, I began slicing down using the measurement as a guide.  It seemed really easy at first, but once you get further down, it gets more and more challenging to cut, especially in the corners.  I’m not the most patient of people, so mine turned out a bit rough looking, but it does it’s purpose, so I’m happy with that.  Just take your time, and it’ll all work out. 🙂
Once I got down through all of the pages, making sure not to cut into the back cover, I then measured a 13 cm by 18 cm rectangle around the hole I already made for my Kindle to fit into.  I sliced around the hole I already made about 1 cm deep, so that my Kindle would fit in snugly.  Keep cutting down and testing by laying your Kindle into it to check that it just fits into the hole.  The hole is a bit larger than the Kindle so that once it’s all covered in glue, it’ll still fit.
I then laid my Kindle into the newly cut hole and looked for where the charger plugs in.  I then cut out a small section from the bottom of my hole to the outside of the book so that I’d be able to charge it while it is in the cover.  I cut this down to the same place that I cut the outer Kindle rectangle.  Here’s what it looks like:
Once it was all cut out, I brushed more mod podge along the insides of the holes and along the top so that they’d be sealed tightly.  I then carefully took out that extra page from the front plastic wrap and placed it on the top, pressing lightly and smoothing it out.  At this point, you can either take a page that you cut out from the book and glue it to the back cover and glue the hollowed out part onto it, or you can do as I did and just glue it to the back of the book, since my back cover had a lovely design on it.
Here’s a closer look of the hollowed out part (notice how rough it is – and that’s okay!):
At this point, you then close the book and stack all of the books and what not you had on top of it at the beginning to weigh it down, and allow it to dry again.  This time, it’ll take a bit longer since the glue is all closed up inside of the book.  Once dry, open it up and cut through that top page that you glued on top, in the shape of the hollowed rectangle!  Remove the plastic wrap from the front, make sure your Kindle still fits nicely, and you are done!
And now for some more pictures!
Here’s my cover with the Kindle inside..
And with the charger plugged in..
And here’s how you can store a few things underneath the Kindle, since it won’t be falling all the way down into your hollow..
Notice that the charger fits nicely, and there’s still some more room.. maybe for a Kindle book light?  Or you could hide any other valuables..
And of course, the kitty had to check it all out, especially since there was ribbon put there especially for him, obviously!
So there you have it; a homemade, hollowed out Kindle book cover!  I had it finished by the end of Lost in Austen, by the way.  Which is a three hour mini series.  Well, it was drying by the end of it.  I also switched out my utility knife’s blade and flipped it around (it’s a double sided blade), about halfway through, so it was still extra sharp!  You will dull down your blade, and it will make it more challenging.. so just get a new one!
Take a few hours and make a one of a kind Kindle cover for yourself.  So worth it!

Related

Harry Potter Kindle and iPhone CoversJuly 10, 2012In "Crafts"

DIY Heart BookmarksFebruary 9, 2012In "Crafts"

DIY Book FlowersApril 13, 2016In "Crafts"

3 Comments

Welcome to
cooking a la mel!
I'm Melinda, a baking, fitness, and reading-obsessed pharmacist, crazy cat lady, and geek. This is my little place on the internet to share mostly healthy recipes and the occasional geeky craft. I am all about balance in every aspect of life, especially when it comes to food! More>>

recent reader favorites

_blank
_blank
_blank
_blank
_blank
_blank
_blank
_blank

mel’s current favorites

_blank
_blank
_blank
_blank
_blank
_blank
_blank
_blank
Copyright © 2024 Cooking a la Mel | Privacy Policy

facebook instagram pinterest RSS Feed email bloglovin' goodreads