cooking ala mel

healthy recipes and the occasional craft

facebook instagram pinterest RSS Feed email bloglovin' goodreads
  • Home
  • About
    • Links and Resources
  • Contact
  • Recipes
    • Appetizers
    • Drinks
      • Cocktails
      • Smoothies/Milkshakes
    • Soups
    • Salads
    • Baked Goods
      • Muffins
      • Quick Breads
      • Scones/Biscuits
      • Yeast Breads
    • Breakfast
      • Donuts
      • Eggs
      • Granola/Bars
      • Oatmeal
      • Pancakes/Waffles
    • Main Dish
      • Beef
      • Chicken
      • Pasta/Grains
      • Pizza
      • Pork
      • Sandwiches
      • Seafood
    • Side Dishes
    • Sauces/Spreads
    • Gluten Free
    • Ingredients
    • Pets
    • Desserts
      • Brownies/Bars
      • Cake
      • Candy
      • Cookies
      • Cupcakes
      • Frozen Treats
      • Pies/Crumbles
      • Pudding/Custard/Sauces
    • Roundups
  • DIY
    • Crafts
    • Decorating
    • Geek
    • Homemade Gifts
  • Lifestyle
    • Things I’m Loving
    • Travel
    • Wedding

Banana Date Breakfast Tea Cake

June 27, 2011

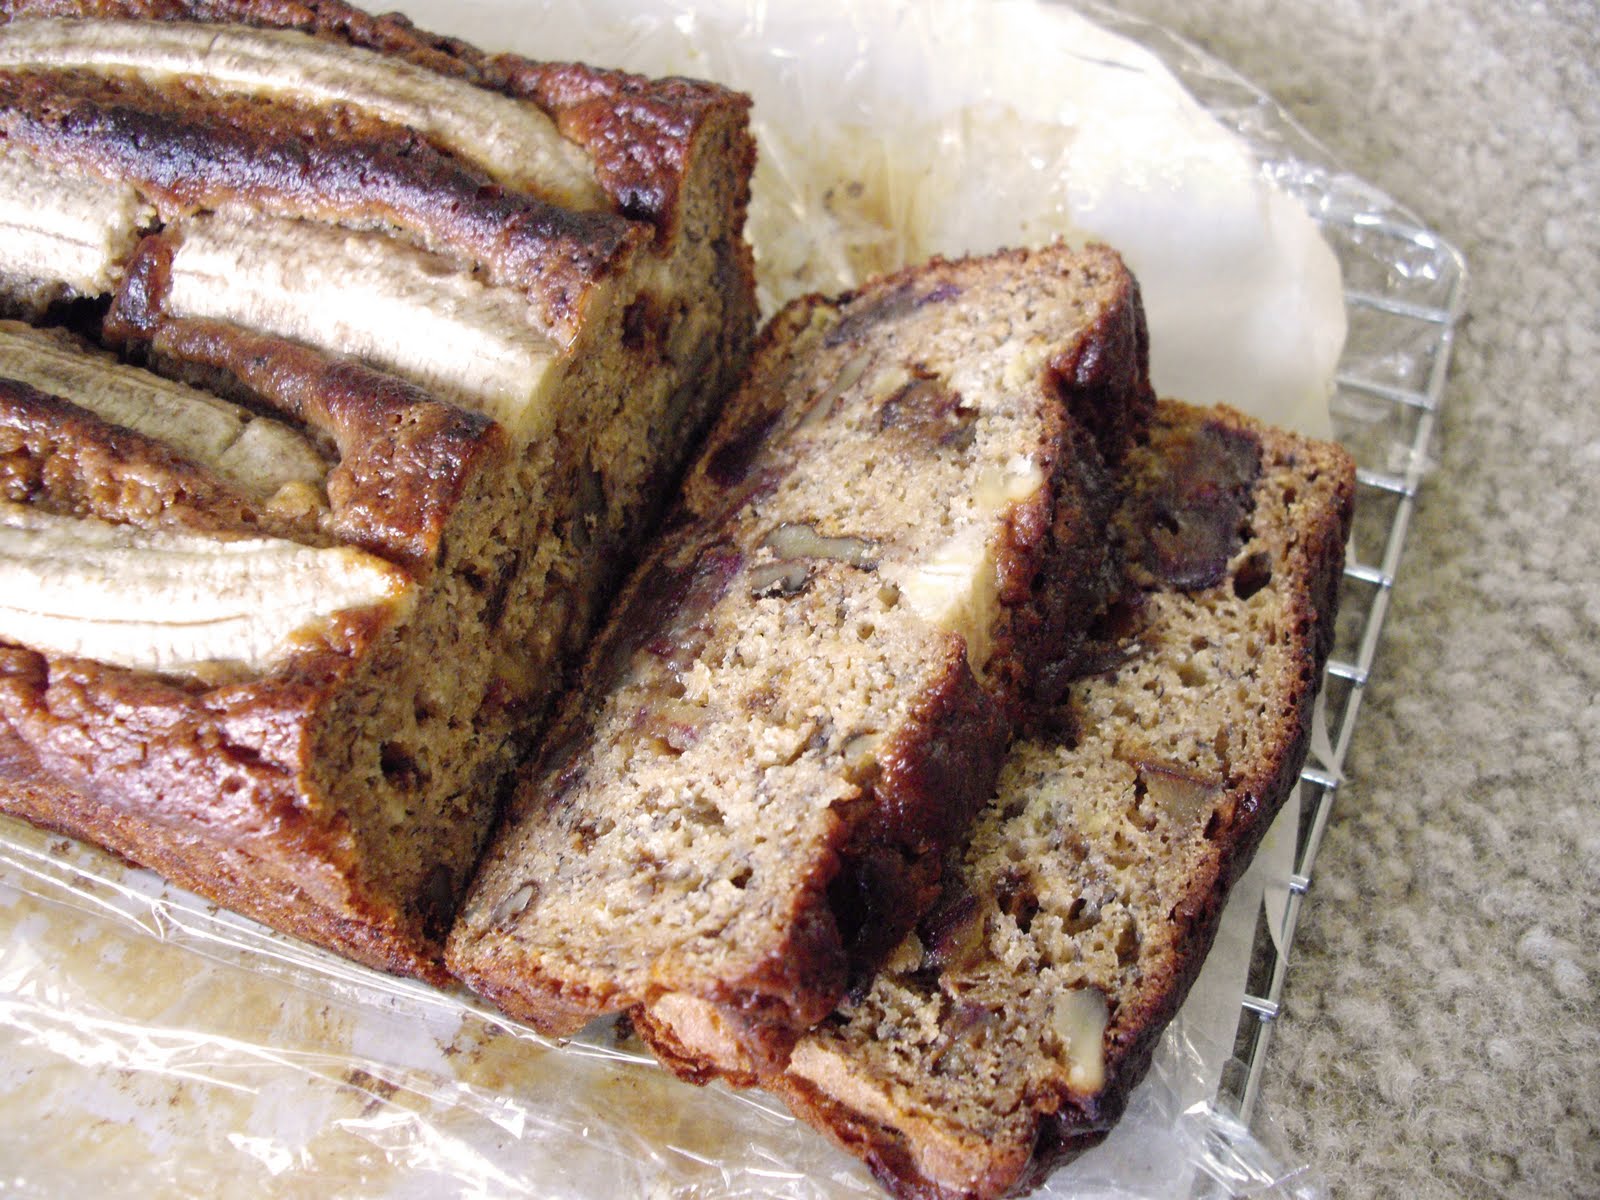
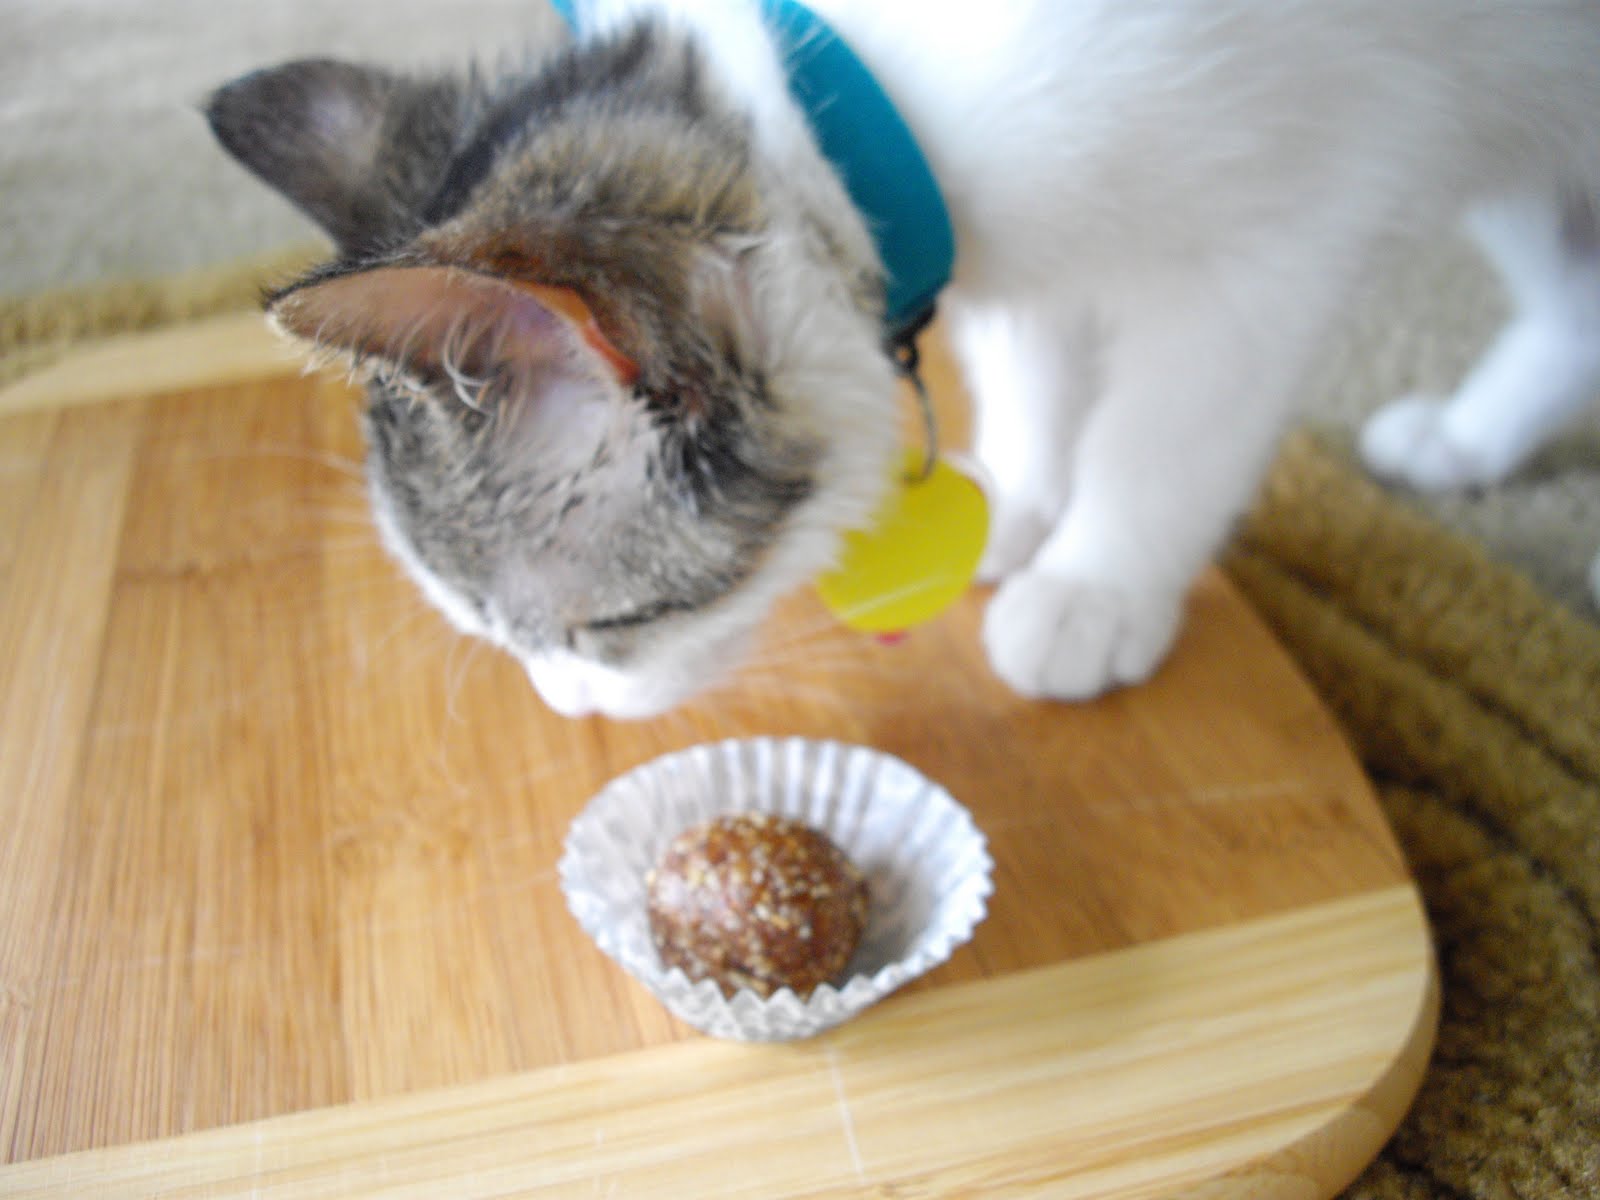
A few months ago, as I was reading Dana’s latest blog post over at Dana Treat, I lamented the fact that I didn’t buy dates regularly.  The recipe she posted looked like such a nice little twist on classic banana bread.  Now that I have lots of dates, and we had three too ripe bananas, I turned back to that recipe with vigor.  I healthified it a bit so it would be a great thing to serve at a brunch – subbing applesauce for butter, using agave nectar instead of sugar.  As I’m slowly getting used to the different hot spots in my oven and how the temperature is, I’ve been having mixed results with my baking.  With this recipe, the edges got extremely dark, while the center was just barely baked.  Thankfully, the dark edges don’t mess up the flavor at all, and the bread still turned out fantastically.

This bread is like the perfect banana nut bread, moist and sweet with no lack in banana flavor.  The dates mixed throughout are like little pockets of gooey sweetness, and it really adds a great touch.  I think next time I’ll lower the amount of agave nectar that I use by half; you really don’t need as much added sweetness because of the dates!  They’ll really have a starring role with a bread that isn’t as sweet.

This bread sort of reminds me of the banana nut bread you get at Bob Evans..with dates added, of course.  I hate to say it, but I absolutely love their banana nut bread, ever since I was little.  I’m glad to be able to say I have a healthier version that tastes even better.  As I tasted it, I knew my mom would absolutely love it because of that (and the dates), and I so wish she was here to have some (I’ll have to make some when I’m at home or you visit, Mom!).
One of the things I really love about this bread is how easy it slices.  In the past, I’ve made some really crumbly banana breads when I make them healthier.  I think the dates really hold it together nicely.
Note the dark edges..thank god you can’t taste it!  And also notice Tesla peeking in the corner..he was trying to check it out the whole time I tried to photograph it…
So of course I let him, just so he’d stop bothering me (which he did!).  That picture really makes it look burnt to a crisp.  It totally wasn’t.  It was delicious.
Banana Date Tea Cake
makes 1 loaf
1 cup + 2 T white whole wheat flour
2 T cornstarch
1 t cinnamon
1/2 t nutmeg
2 t baking powder
1 t baking soda
3 ripe bananas
2 eggs
1 1/2 t vanilla
1/2 t salt
6 T unsweetened applesauce
1/2 cup agave nectar
1 cup walnuts, chopped
1 cup dates, pitted & chopped
1 banana & 1 packet truvia, for topping
In a medium bowl, combine the flour, cornstarch, cinnamon, nutmeg, baking powder and baking soda.  In a separate bowl, mash the 3 bananas with a fork until slightly chunky.  Stir in the eggs, vanilla and salt.  Add in the applesauce and agave nectar and mix thoroughly.  Pour the banana mixture into the flour mixture, and mix until fully incorporated.  Fold in the dates and walnuts.  Pour the batter into a loaf pan lined with parchment paper (or greased lightly) and smooth with a spatula.  Take the extra banana and cut it in half lengthwise.  Take each half, cut side down, and cut in half lengthwise again.  Lay on top of the batter and sprinkle with truvia.  Bake for 40-45 minutes at 350ºF, until toothpick comes out clean.  Allow to cool in the pan for about 10 minutes, and then remove to a wire rack to cool completely.  Serve at room temperature.  Keep well wrapped in the fridge for a week or at room temp. for two days.

3 Comments

Oatmeal Raisin Cookie Dough Bites

June 25, 2011

While I was at home for the wedding, I stocked up on dates so I could make some more cookie dough bites…I’m totally addicted to them.  They’re so perfect to snack on throughout the day – when they aren’t in the fridge or freezer, I really don’t know what to do with myself!  So this time, I made an oatmeal raisin version that I found at Healthy Food for Living.

This was the first time I made anything in the kitchen with our new little kitty, and he was such a sweet little angel throughout the whole process.  He hung out on one of our dining chairs and watched me attentively..and he was only scared by the food processor once!  He wanted to try one..too bad kitties can’t eat raisins!  I let him check them out though.


These truffles are spot on with oatmeal raisin cookies!  I love how the raisins are evenly mixed throughout because they’re made into a paste.
I made them smaller than the original recipe so I’d have more..I’d definitely rather be able to eat more of them!
I’m totally loving these healthy little treats.  I’m excited to keep trying new flavors!
Oatmeal Raisin Cookie Dough Bites
3/4 cup cashews
1/4 cup rolled oats
1/3 cup raisins (heaping)
3 large medjool dates, pitted
1 t cinnamon
1/4 t nutmeg
1 t vanilla
1/4 t salt
Grind up the oats and cashews together in a food processor until in fine crumbs.  Set aside in a bowl and pulse together the dates, raisins, nutmeg, cinnamon, vanilla and salt until it forms a paste.  Combine the oats and nuts with the paste and pulse in the food processor until it forms a dough.  Roll into little balls and store in an airtight container in the fridge or freezer!

Leave a Comment

Strawberry Apple Crumble Pies

June 23, 2011

It’s been a very busy time since my last post!  My sister got married, we got a new kitten, and I got a summer job (at Dunkin Donuts – closest thing to a bakery with an opening!).  The wedding was beautiful, everything went smoothly…I had a fantastic time.  We had a nice little picnic with all of our family that came out for the wedding on the following day, and it was really great to get to spend a bit more time with everyone!  Alex and I headed home the same day.  We recharged a bit from the wedding and got to searching for our perfect kitty.  We originally wanted an orange/white or black/white kitty with really fluffy hair and a great personality, but we fell in love with this little guy:

I mean, really.  How can you say no to that face?  And his personality is absolutely delightful.  He’s such a little cuddle bug, and he’s so so playful.  Exactly what we were looking for.  He’s a bit needy, although I’m sure he’ll grow out of that.  He cries anytime we’re out of his sight (this could be just when he walks behind the couch..I know, adorable).  He slept all curled up on my neck last night.  I’m totally in love with this little guy.  But I should probably tell you about these pies…

I’ve been wanting to make another recipe from my Unofficial Harry Potter Cookbook for quite a while, but I’ve just never gotten around to it.  I finally decided I’d make the apple crumble pies from it, but then I decided I wanted some strawberry in there too.  And then I decided I’d change the crust..and that I would make it in mini tart pans instead of muffin tins.  All went well with those changes except there was a bit too much crumble for on top.  I love crumble, so I just piled it on, but it makes it feel a bit drier.  So maybe I’d up the filling next time.  Or cut the crumble topping it half.  Whichever.
I loved the filling in this.  Apple and strawberry, cooked down so it’s nice and thick, subtly sweet and wonderfully spiced..it doesn’t get much better than this.  It’s perfect with a scoop of ice cream.
This recipe makes 6 mini tarts, and if you’re anything like me, that’ll only serve six people.  It really should probably serve 12, but hey.  Who’s to stop you?  Eat that whole pie!  I did.  With a scoop of ice cream!  And it was heavenly.
Strawberry Apple Crumble Pies
makes 6 mini tart sized or 12 muffin sized pies
 
For the crust:
1 1/4 cups white whole wheat flour
2 packets truvia (or 2 T sugar)
1/4 t salt
1/3 cup olive oil
4-6 T cold water
Mix together the flour, truvia and salt in a food processor.  Add in the olive oil and pulse together until it resembles coarse crumbs.  Add in 4 T of water and fold with a spatula.  Add more if the dough is too dry.  Form the dough into a disk and wrap in plastic wrap.  Chill for at least two hours, up to four days.
For the strawberry apple filling:
2 large baking apples (granny smith is great), cored and diced
about 6 large strawberries, cored and diced
1/4 cup sugar
1/4 cup maple syrup
1 T Smart Balance (or butter)
1/2 t cinnamon
1/4 t nutmeg
2 T lemon juice
In a large skillet, heat the smart balance until it is fully melted and begins foaming.  Add the apples, strawberries, sugar, maple syrup, lemon juice, cinnamon and nutmeg.  Cook over medium heat, stirring with a wooden spoon, until most of the juices have evaporated and the apples are soft.  Remove from heat and cool to room temperature.
For the crumble topping:
1/2 cup white whole wheat flour
1/4 cup brown sugar
1/4 t cinnamon
2 T Smart Balance (or butter)
1/3 cup chopped pecans
In a small bowl, whisk together the flour, sugar and cinnamon.  With your fingers, rub in the smart balance until it feels like wet sand.  Stir in the chopped pecans and set aside.
To assemble:
Roll out the crust dough very thin on a floured surface.  If using tart pans, place the tart pans up-side down on the dough and trace around it to shape.  Fit the circle into a greased tart pan.  If using muffin tins, use a 4-inch round cookie cutter and fit the circle into the muffin tin.  Fill each pie with about 2 heaping T of filling (1 T if using muffin tins) and generously sprinkle with the crumble topping.
Bake at 350ºF for 30-40 minutes, until the juices are bubbling and the tops are browning.  Cool in the pans until able to remove by sliding a knife in and lifting out.  Cool the rest of the way on wire racks.  Serve with a scoop of vanilla ice cream or some whipped cream.

Leave a Comment

  • « Previous Page
  • 1
  • …
  • 105
  • 106
  • 107
  • 108
  • 109
  • …
  • 142
  • Next Page »
Welcome to
cooking a la mel!
I'm Melinda, a baking, fitness, and reading-obsessed pharmacist, crazy cat lady, and geek. This is my little place on the internet to share mostly healthy recipes and the occasional geeky craft. I am all about balance in every aspect of life, especially when it comes to food! More>>

recent reader favorites

_blank
_blank
_blank
_blank
_blank
_blank
_blank
_blank

mel’s current favorites

_blank
_blank
_blank
_blank
_blank
_blank
_blank
_blank
Copyright © 2024 Cooking a la Mel | Privacy Policy

facebook instagram pinterest RSS Feed email bloglovin' goodreads