cooking ala mel

healthy recipes and the occasional craft

facebook instagram pinterest RSS Feed email bloglovin' goodreads
  • Home
  • About
    • Links and Resources
  • Contact
  • Recipes
    • Appetizers
    • Drinks
      • Cocktails
      • Smoothies/Milkshakes
    • Soups
    • Salads
    • Baked Goods
      • Muffins
      • Quick Breads
      • Scones/Biscuits
      • Yeast Breads
    • Breakfast
      • Donuts
      • Eggs
      • Granola/Bars
      • Oatmeal
      • Pancakes/Waffles
    • Main Dish
      • Beef
      • Chicken
      • Pasta/Grains
      • Pizza
      • Pork
      • Sandwiches
      • Seafood
    • Side Dishes
    • Sauces/Spreads
    • Gluten Free
    • Ingredients
    • Pets
    • Desserts
      • Brownies/Bars
      • Cake
      • Candy
      • Cookies
      • Cupcakes
      • Frozen Treats
      • Pies/Crumbles
      • Pudding/Custard/Sauces
    • Roundups
  • DIY
    • Crafts
    • Decorating
    • Geek
    • Homemade Gifts
  • Lifestyle
    • Things I’m Loving
    • Travel
    • Wedding

Oreo Kiss Truffles

May 24, 2011

For the favors for the bridal shower, I made Hershey Kiss shaped oreo truffles.  I saw it on Bakerella a while back and knew I absolutely had to make them for Jenny’s wedding somehow, even if it was only for us at home.  Once I started planning the shower, that was the first thing I had on my list of things to make.

Each little banner had something different on it, such as Jenny & Mark, 6-17-11; We love you, Jenny!; Bride To Be; The Future Mrs. Mark Bernardo; 6-17-11.  These took a while to do, with three for each person (I made enough for 28 favors), but it was worth it.  I love oreo truffles.  SO rich – perfect for chocolate lovers.

I put three each into cute little bags from Wilton and tied another little banner around them.
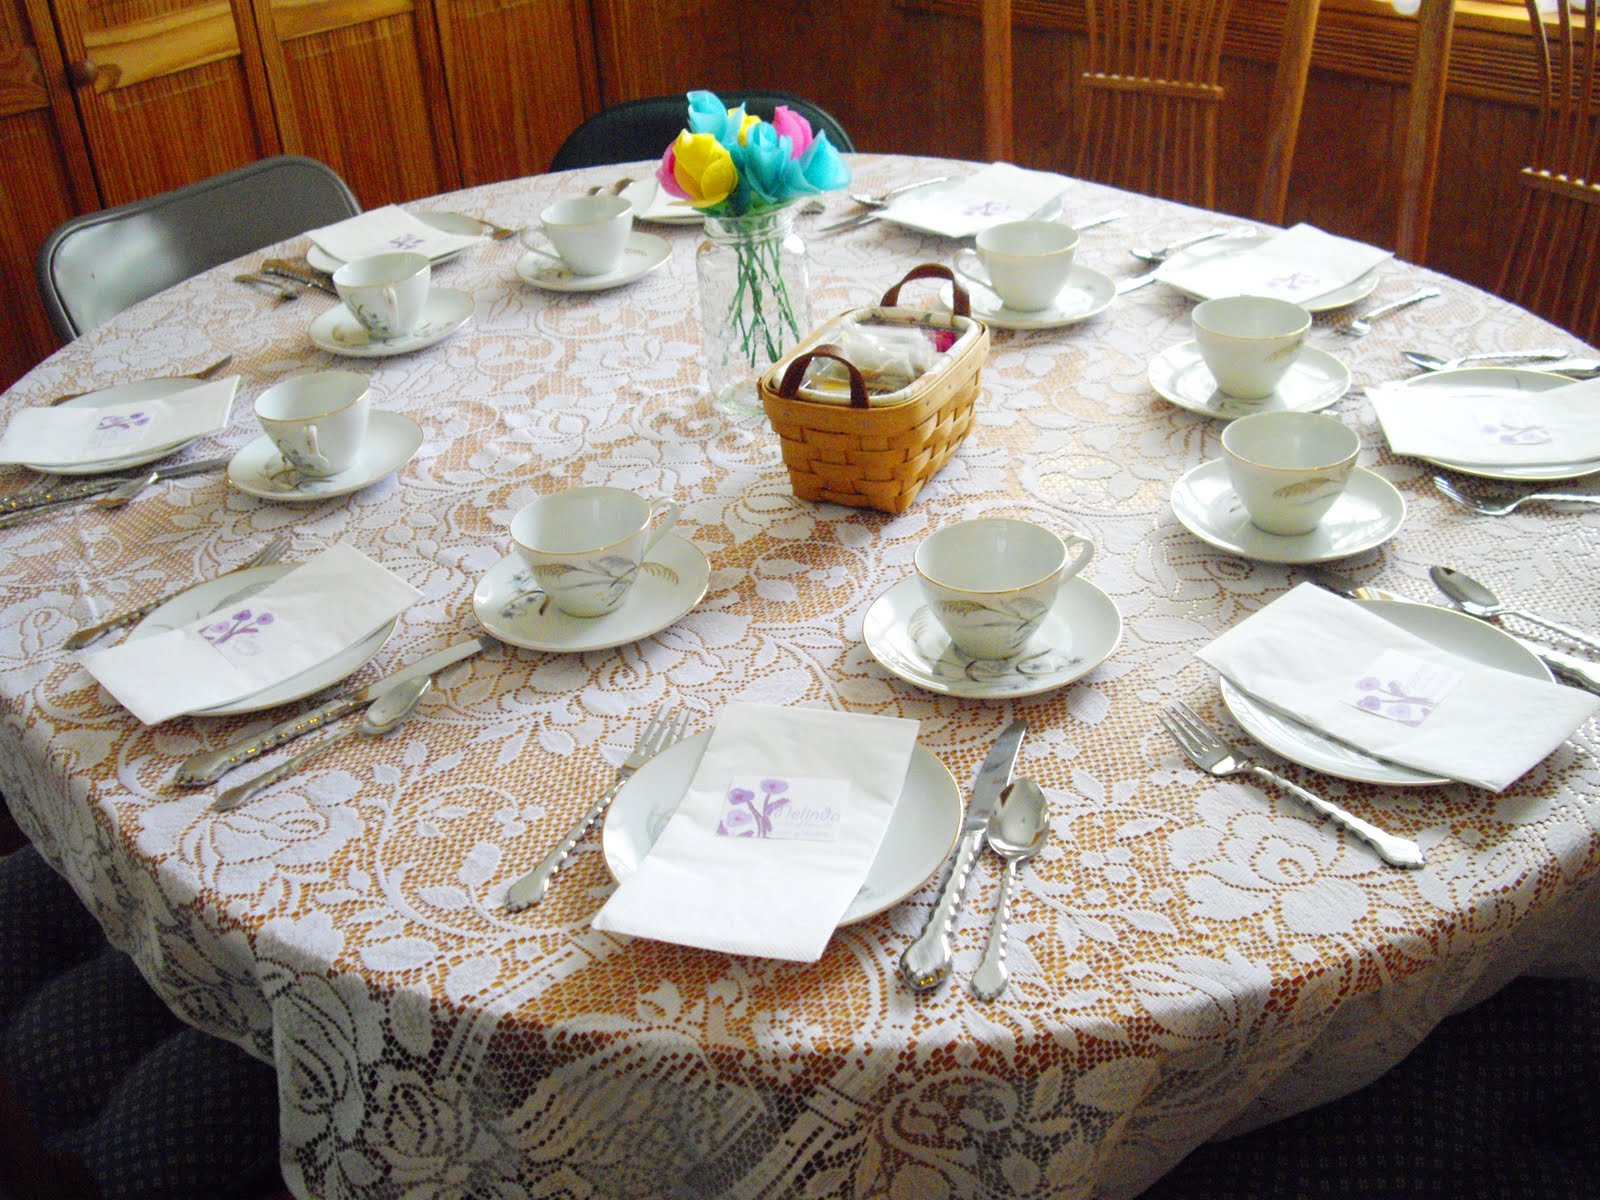
The place setting!
Oreo Kiss Truffles
1 package oreo cookies (all but 7 cookies)
1-8 oz. package cream cheese, softened
1 package bittersweet chocolate chips (I used Ghirardelli’s double chocolate baking chips)
In a food processor (or large plastic bag), crush up the oreos until they are fine crumbs.  Stir in the softened cream cheese and mix until fully combined and smooth.  Using a small cookie scoop, roll the dough into 1 inch balls and place on a wax paper lined cookie sheet.  Flatten the bottom and form a point at the top of each ball, forming the shape of a kiss.  Put the uncoated kisses into the freezer for about 10 minutes.
Melt your chocolate chips in the microwave for 30 second intervals, stirring in between (or use a double boiler).  One at a time, pull each uncoated kiss from the microwave and dip in the chocolate.  Using a spoon, tap off the excess chocolate and let it slide off the spoon onto another wax paper lined cookie sheet.  Continue with the rest of the kisses and refrigerate once complete.
To package the kisses, create banners on your computer or by hand and cut them into little strips.  Cut square sheets of aluminum foil (about 5.5 inches squared).  Place a dry kiss in the center of the foil square and begin wrapping the foil around, placing the message near the top by pressing the foil together.

Leave a Comment

Mexican Wedding Fruit Pizza (and A Bridal Shower)

May 24, 2011

This past weekend, I threw a bridal shower for my sister with all of the other bridesmaids.  It was tea party themed with lots of little appetizers and treats.  I made all of the food except for a few salads and deviled eggs made by my aunt and my cousin.  It was the first time I’ve completely catered a party of any sort, and it was so much fun.  I planned it all out and froze everything that could be frozen (cookies, unfrosted cupcakes, bread, pretzel bites) two weeks ahead of time so I wouldn’t be racing the clock at the end.  It was such a fun bridal shower, and everything went smoothly – the food was a hit!  It was a lot of work, but it really paid off, and I had so much fun doing it!  We had 23 people in total at the shower, so we all crowded around our two tables; it was tight, but I think it worked out decently enough!

The menu for the shower was:
Mini Ham & Cheese Pretzel Paninis
Crostini with Spinach Artichoke Dip and Tomato Basil Bruschetta
Pasta Salad (made by Aunt Sue)
Deviled Eggs (made by Aunt Sue)
Watermelon Feta Mint Salad (made by my cousin, Sara)
Vegetable Pizza (made by my mom)
Mini Mexican Wedding Fruit Pizza
Mini Vanilla Chai Cupcakes with Cinnamon Buttercream Frosting
Mini Chocolate Cupcakes with Chocolate Frosting
Chocolate Chip Tea Cookies
Maple Nut Scones with Cappuccino Glaze
Iced Strawberry Lemonade
Assorted Tea/Coffee
Oreo Kiss Truffles as favors
[Read more…]

Leave a Comment

French Baguettes

May 20, 2011

I’ve been meaning to make bread for a while.  I just never got around to it, and now that I’m home and baking up a storm, of course bread had to be made.  I started fairly simple with a basic french baguette, and I’m extremely pleased with the results.  I love the process of the dough rising, rolling it, shaping it..it’s therapeutic, really.  What I love is that it really takes no time at all!  I made a batch of cupcakes while I waited for the dough to rise, and then I washed dishes and cleaned the kitchen (which was a MESS) during the second rise.

This recipe makes four baguettes, which is awesome because you can keep however much you need for use and then freeze the rest!  Nothing beats the smell of fresh baked bread.  This bread would be SO perfect for a bruschetta.  I think I’ll definitely be making lots more bread from now on!

French Baguettes
adapted from KAF
makes 4 baguettes
2 T active dry yeast (2 packages)
1/2 cup lukewarm (110ºF water)
1 t sugar
about 6 1/3 cups flour (plus more for rolling/shaping)
2 t salt
2 cups water (90ºF)
1 egg, beaten with 1 T water
Combine the yeast, sugar and 1/2 cup water and stir until dissolved.  Allow to sit for about 5 minutes, until frothy.  Combine the flour and salt in the bowl of a stand mixer.  With your stand mixer running (with the dough hook), add the yeast mixture to the flour mixture, followed by the two cups of water.  Allow the mixer to knead the dough for about 2 minutes at low speed.  It should form a ball and clean the sides of the bowl.  Knead for about 2 more minutes at low speed, adding more flour if it is too wet, or water a tablespoon at a time if it is too dry.
Place the dough into a well oiled bowl and cover with a towel.  Allow it to rise in a warm place for about an hour (or until it doubles in size).  Turn the dough out onto a lightly floured surface and divide it into four pieces.  Roll each piece out into an oval (about 15×8 inches).  Roll the oval from the long side into a long cylinder.  Pinch the edges to the dough.
Place dough with the seam side down onto a parchment lined baking sheet or well greased baguette pan. Cover with a towel and allow to rise for another hour or until it doubles in size.
Preheat the oven to 425ºF about 10 minutes before you bake the bread and place a shallow pan on the bottom shelf of the oven.  Slash each loaf diagonally with a sharp blade, and brush each baguette with the egg wash.  Place the bread in the oven, and put about a cup of ice cubes into the shallow pan to make steam.
Bake the bread for about 20 minutes, or until lightly golden on the outside.  Cool on a wire rack so it does not get soggy.

Leave a Comment

  • « Previous Page
  • 1
  • …
  • 112
  • 113
  • 114
  • 115
  • 116
  • …
  • 142
  • Next Page »
Welcome to
cooking a la mel!
I'm Melinda, a baking, fitness, and reading-obsessed pharmacist, crazy cat lady, and geek. This is my little place on the internet to share mostly healthy recipes and the occasional geeky craft. I am all about balance in every aspect of life, especially when it comes to food! More>>

recent reader favorites

_blank
_blank
_blank
_blank
_blank
_blank
_blank
_blank

mel’s current favorites

_blank
_blank
_blank
_blank
_blank
_blank
_blank
_blank
Copyright © 2024 Cooking a la Mel | Privacy Policy

facebook instagram pinterest RSS Feed email bloglovin' goodreads