cooking ala mel

healthy recipes and the occasional craft

facebook instagram pinterest RSS Feed email bloglovin' goodreads
  • Home
  • About
    • Links and Resources
  • Contact
  • Recipes
    • Appetizers
    • Drinks
      • Cocktails
      • Smoothies/Milkshakes
    • Soups
    • Salads
    • Baked Goods
      • Muffins
      • Quick Breads
      • Scones/Biscuits
      • Yeast Breads
    • Breakfast
      • Donuts
      • Eggs
      • Granola/Bars
      • Oatmeal
      • Pancakes/Waffles
    • Main Dish
      • Beef
      • Chicken
      • Pasta/Grains
      • Pizza
      • Pork
      • Sandwiches
      • Seafood
    • Side Dishes
    • Sauces/Spreads
    • Gluten Free
    • Ingredients
    • Pets
    • Desserts
      • Brownies/Bars
      • Cake
      • Candy
      • Cookies
      • Cupcakes
      • Frozen Treats
      • Pies/Crumbles
      • Pudding/Custard/Sauces
    • Roundups
  • DIY
    • Crafts
    • Decorating
    • Geek
    • Homemade Gifts
  • Lifestyle
    • Things I’m Loving
    • Travel
    • Wedding

Peanut Butter Granola

March 28, 2011

I finally switched it up again with my granola flavor.  I’ve been meaning to make a peanut buttery granola for a long time, since I saw a recipe on Healthy Food For Living.  I mostly just use granola recipes for inspiration of flavor rather than following them verbatim because I just really love the granola recipe I made.  I haven’t actually made granola since before my spring break; I’ve been trying to clear out our pantry area of cereal a good bit, and so I’ve been having Kashi Go Lean Crunch for the past week or so.  Can’t wait for this peanut butter goodness tomorrow morning!! 🙂

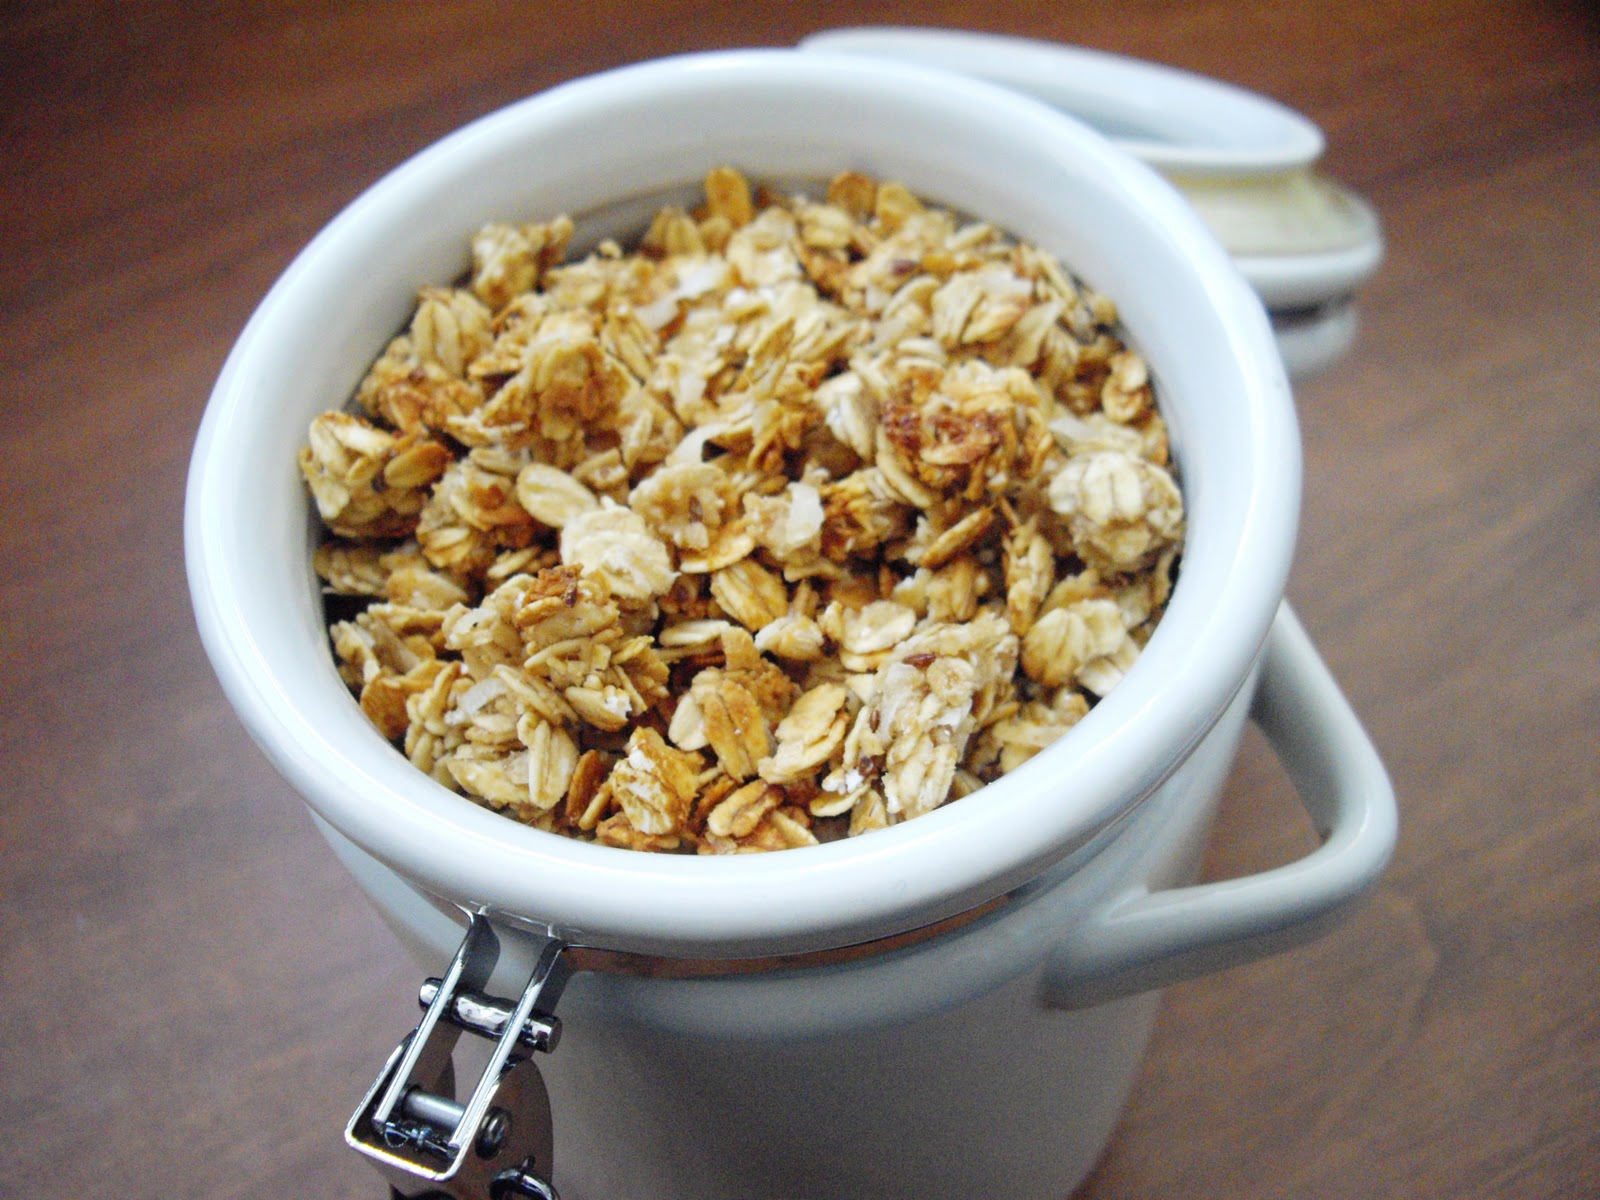
I always include coconut in my granola recipes, but it’s no problem to opt out of using it if you don’t like the flavor or texture.  It’s a very subtle flavor, so unless you’re really against the texture, you’ll barely even notice it.  I think it adds a nice crunch.

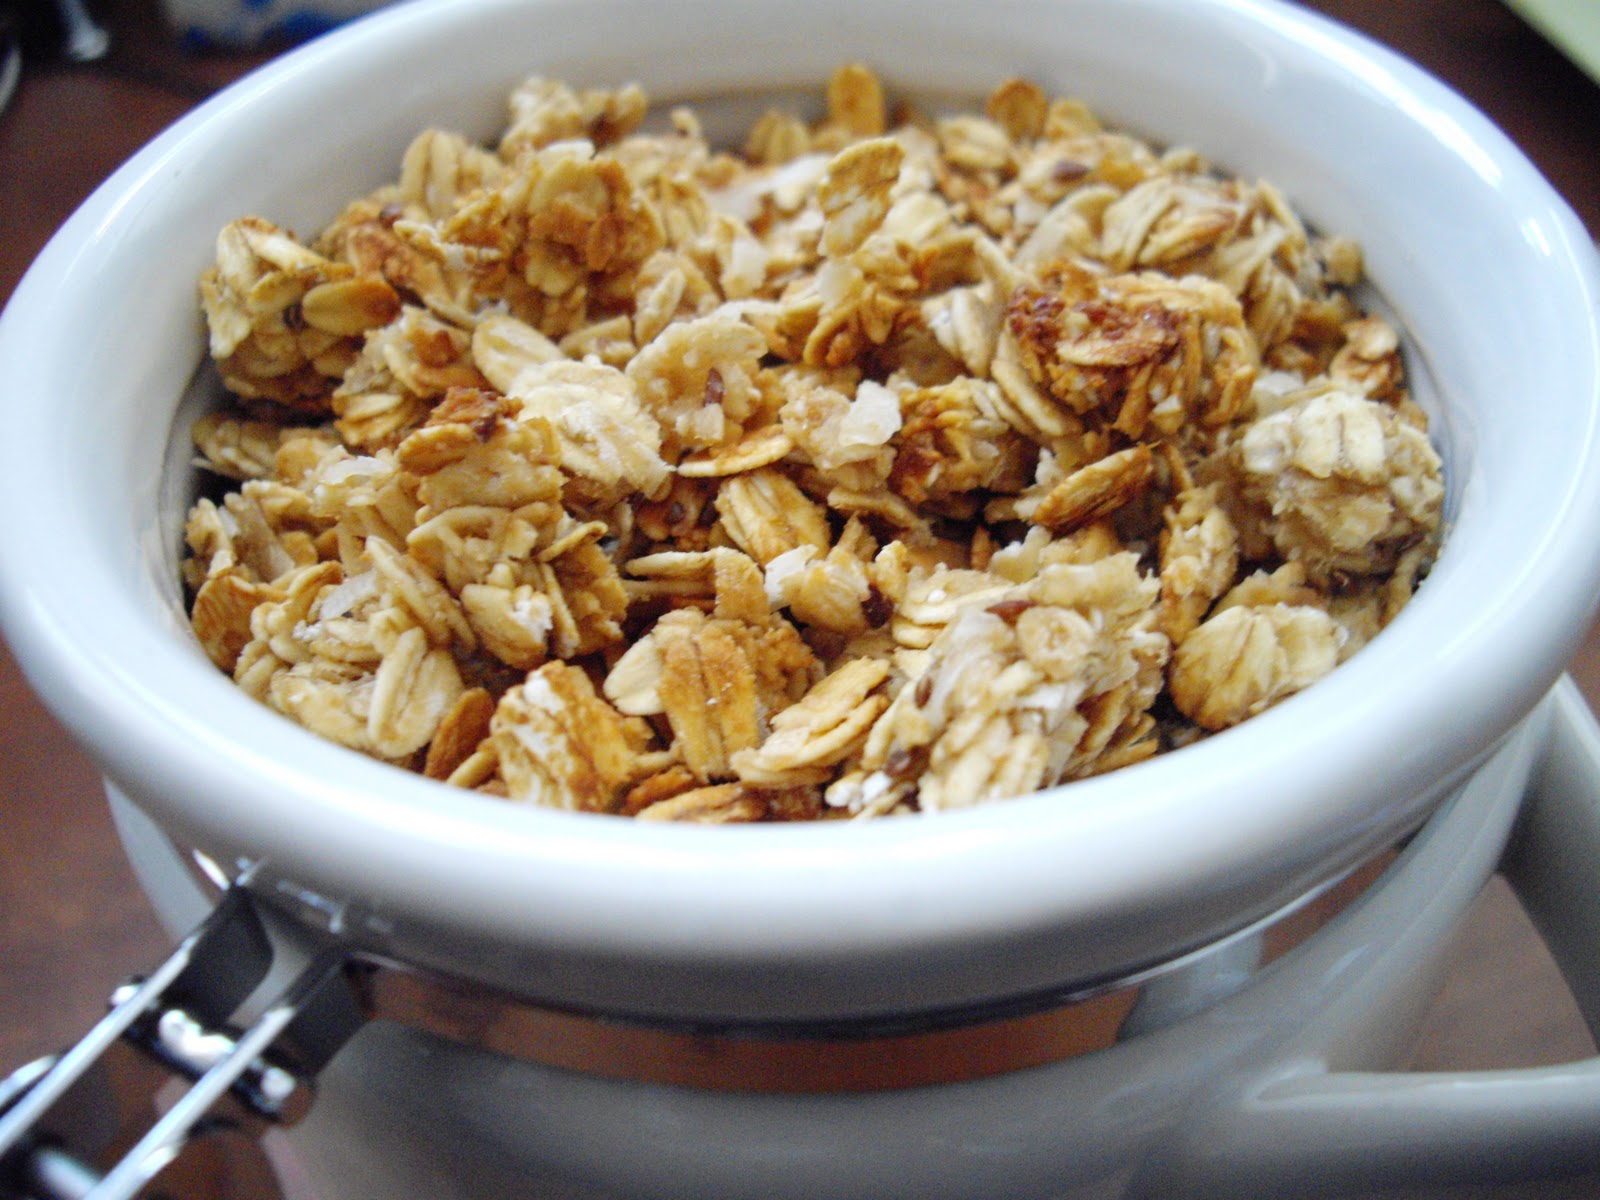
This smelled absolutely heavenly as it was baking; I think that’s my favorite part of making granola – it fills up the entire floor in the dorm!


Peanut Butter Granola
4 cups old-fashioned oats
1 1/2 T flax seeds
1/3 cup honey
1/2 cup coconut
1/2 t vanilla
1/4 cup water
1/3 cup peanut butter
1/3 cup applesauce
Dash of salt

Preheat oven to 350ºF.  Combine oats, coconut, flax seeds and salt in a large bowl.  Combine water, honey, peanut butter, vanilla and applesauce in small sauce pan and heat until just boiling.  Pour the boiling mixture over the dry mixture and stir until evenly coated.  Pour evenly onto baking sheet and bake for 25 minutes, stirring once halfway through.  Once cool, store in air-tight container.

Leave a Comment

Chocolate Coconut Crispy Cookies

March 27, 2011

This Saturday was Relay for Life here at UB.  The girls I live with formed a team for the Honors College; our country was Australia.  While everyone was making signs for Australia, I went on a search for some type of cookie or dessert I could make to bring with us for a snack.  I couldn’t find anything that everyone would like, since almost every dessert from Australia has coconut in it, so I decided to make up my own recipe for a cookie resembling chocolate crackle candy, which is a kid’s confection with crisped rice, chocolate and coconut.

I made half a batch with coconut and half without, for coconut lovers and haters alike.  I’m definitely pleased with how this recipe turned out; I like the extra crisp the Rice Krispies gave to it.  The coconut ones were my favorite, of course.  It really gave an oomph to the chocolate flavor.

We ended up having a TON of food at our little “camp site,” so most of the cookies were still left over.  We were snacking all night long.
Chocolate Coconut Crispy Cookies
yields about 4 1/2 dozen cookies
2 cups whole wheat flour
2 cups rice krispies
2 cups sugar
1 cup coconut
2 t vanilla
1 t baking soda
2 eggs
1/2 t salt
2 heaping T cocoa powder (I used Hershey’s special dark)
6 T butter
1/2 cup apple sauce
3/4 cup chocolate chips
Preheat the oven to 350ºF.  Cream the apple sauce, butter and sugar together with the vanilla.  Add in the eggs and cocoa powder and blend until smooth.  Sift in the flour, baking soda and salt, and mix until fully incorporated.  Fold in the rice krispies, coconut and chocolate chips.  Spoon by rounded tablespoons onto a baking sheet lined with parchment paper, about two inches apart to allow for spreading.  Bake for 9-10 minutes or until spread out and slightly dry looking on top.  Allow to cool for a few minutes before removing from sheet and cooling on wire rack.

Leave a Comment

Thin Crust Pizza (Whole Wheat)

March 23, 2011

I’ve been wanting to make a good thin crust pizza for a while, now.  I thought it would be extremely time consuming because of the use of yeast, but once I actually started searching for recipes, some of the best reviewed recipes were ones that didn’t allow for any rising time.  Jumping on that, I decided (a bit last minute) that we would make pizza tonight for dinner.  Alex was just mentioning last night how he would like to make a classic fresh mozzarella and basil pizza, so it felt like the perfect opportunity.  Now, I’m sure there are a lot of hardcore yeast people out there that think you absolutely must let it rise before proceeding with baking, but I think it turned out just fine without.  I’m sure I’ll try some alterations in the future, to see which is better (some recipes say letting it rise for 30 minutes is key).

I just got this silicone baking mat in the mail, and the recipe I found said to use parchment paper (which actually isn’t safe at the temperature this baked at), so I decided to use this mat instead.  I wish I hadn’t.  Pizza needs to get heat in the center, and this mat sort of hindered that.  I left the pizza stone my mom said I could take at home, and now I totally wish I hadn’t left it!  Until we get that pizza stone, I’m definitely just baking it directly on our yucky looking pan.  It needs that heat to make sure it cooks fully.

Alex likes his cheese a little less well done, and I don’t think the crust was done enough in the center, so I think next time we’ll lower the temperature a decent bit and allow it to cook longer so we can both be happy with it.
It may not have been up to par for me in the center, but oh boy did I love those outer edges – this is a delicious crispy crust, no doubt about that.
We ended up finishing this pizza just the two of us.  I’m amazed sometimes by how much food we can consume.  Oh well, at least there won’t be leftovers – I hate reheated pizza!
Thin Crust Pizza
yields 2 small pizzas or 1 baking sheet sized
3/4 cup water, warm (110º)
1 t active dry yeast
2 cups white whole wheat flour
1/2 t salt
1/4 t honey
Preheat the oven to 500ºF (I would do 450ºF).  Mix the water, yeast and sugar in a measuring cup.  Allow to sit for 8 minutes, until the mixture is slightly frothy.  Put the flour in a large mixing bowl and mix in the salt.  Make a well in the flour and add in the yeast mixture.  Mix with a spoon until it forms a ball.  At this point, either pull out your mixer with a dough hook or start kneading with your hands.  Knead the dough until smooth and elastic, about five minutes.
Divide the dough in two (if you’re making two round pizzas) or keep it in one ball.
Roll out the dough into a round or square 1/4 inch thick.  Place it onto baking sheet or pizza stone.
Top with whatever toppings you want (sauce, cheese, etc.), and bake for 8-12 minutes (if reduced to 450ºF, add a few minutes extra).  Once done, allow to cool slightly before cutting.  Enjoy!

Leave a Comment

  • « Previous Page
  • 1
  • …
  • 119
  • 120
  • 121
  • 122
  • 123
  • …
  • 142
  • Next Page »
Welcome to
cooking a la mel!
I'm Melinda, a baking, fitness, and reading-obsessed pharmacist, crazy cat lady, and geek. This is my little place on the internet to share mostly healthy recipes and the occasional geeky craft. I am all about balance in every aspect of life, especially when it comes to food! More>>

recent reader favorites

_blank
_blank
_blank
_blank
_blank
_blank
_blank
_blank

mel’s current favorites

_blank
_blank
_blank
_blank
_blank
_blank
_blank
_blank
Copyright © 2024 Cooking a la Mel | Privacy Policy

facebook instagram pinterest RSS Feed email bloglovin' goodreads