cooking ala mel

healthy recipes and the occasional craft

facebook instagram pinterest RSS Feed email bloglovin' goodreads
  • Home
  • About
    • Links and Resources
  • Contact
  • Recipes
    • Appetizers
    • Drinks
      • Cocktails
      • Smoothies/Milkshakes
    • Soups
    • Salads
    • Baked Goods
      • Muffins
      • Quick Breads
      • Scones/Biscuits
      • Yeast Breads
    • Breakfast
      • Donuts
      • Eggs
      • Granola/Bars
      • Oatmeal
      • Pancakes/Waffles
    • Main Dish
      • Beef
      • Chicken
      • Pasta/Grains
      • Pizza
      • Pork
      • Sandwiches
      • Seafood
    • Side Dishes
    • Sauces/Spreads
    • Gluten Free
    • Ingredients
    • Pets
    • Desserts
      • Brownies/Bars
      • Cake
      • Candy
      • Cookies
      • Cupcakes
      • Frozen Treats
      • Pies/Crumbles
      • Pudding/Custard/Sauces
    • Roundups
  • DIY
    • Crafts
    • Decorating
    • Geek
    • Homemade Gifts
  • Lifestyle
    • Things I’m Loving
    • Travel
    • Wedding

Make Your Own Almond Flour

February 26, 2012

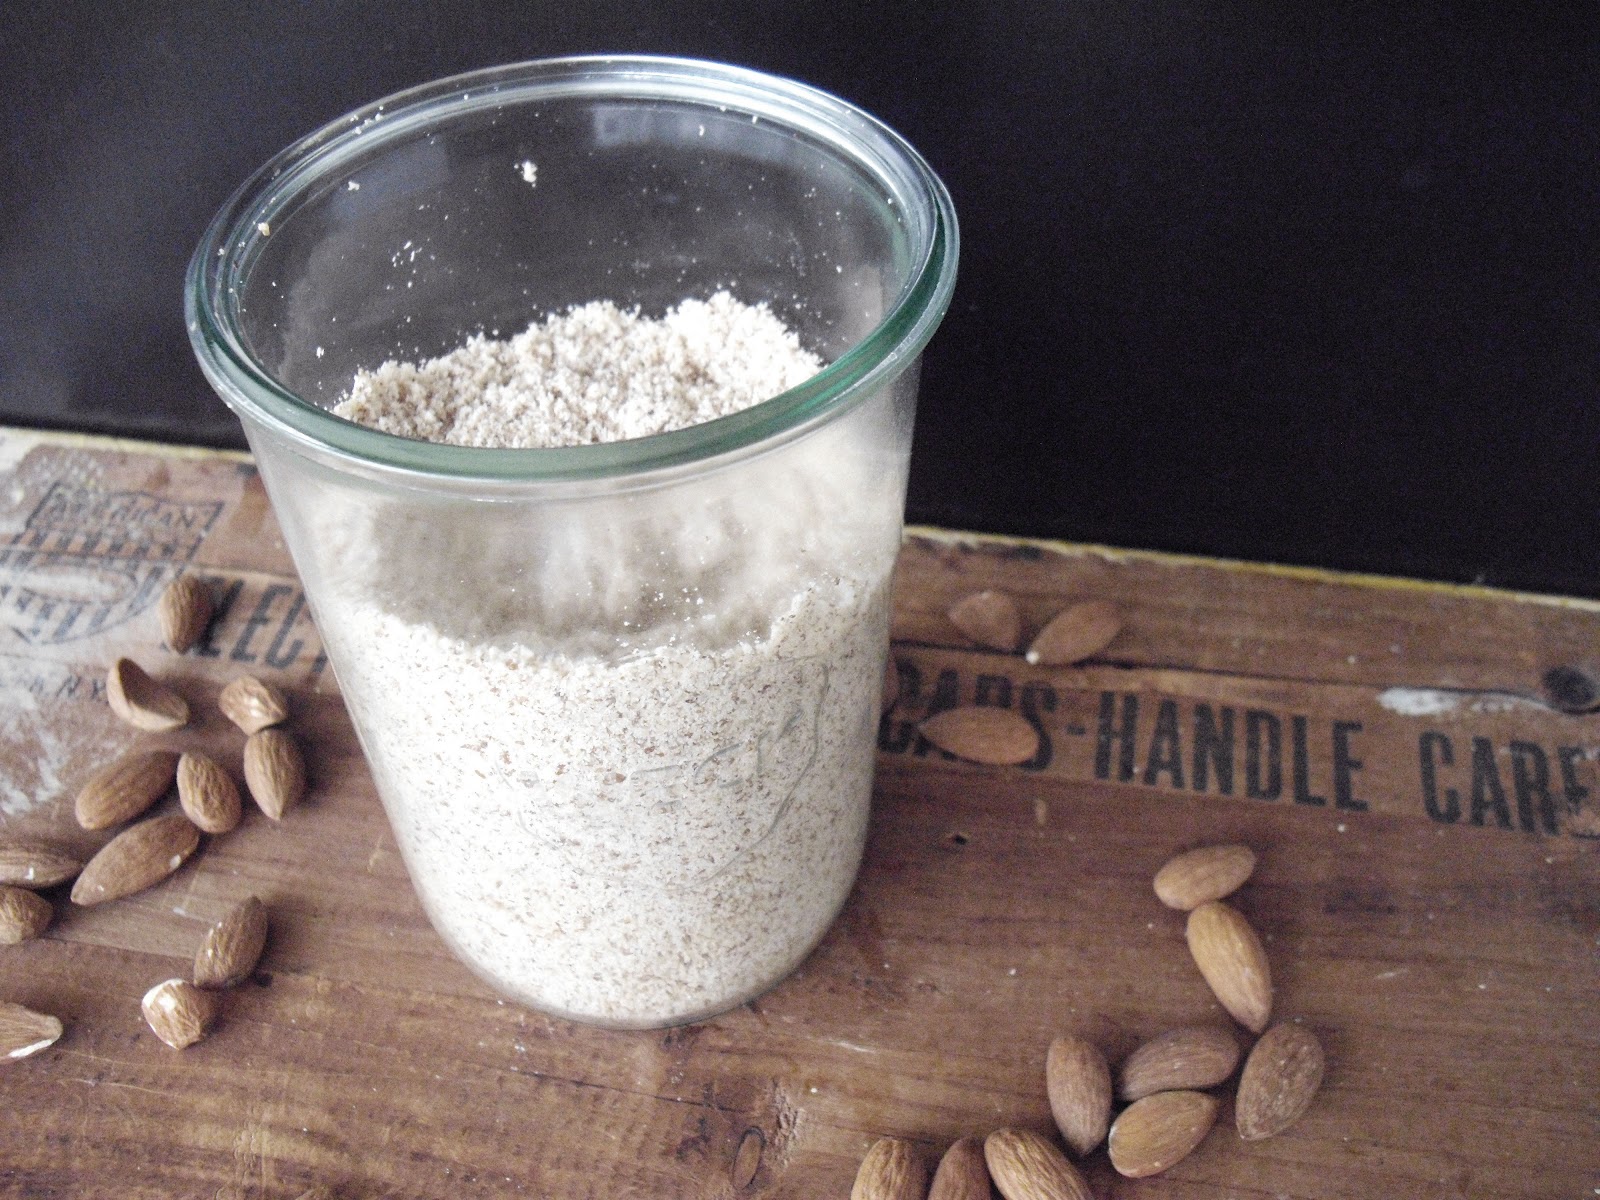
Almond flour is a great flour to bake with when it comes to making healthier treats.  The problem with almond flour, though, is how expensive it is.  Over Christmas, I made some almond meal and tried using that in recipes that call for almond flour, but it didn’t have quite the same effect.  It was till delicious, but it just didn’t come together as well.  I decided to try again, and this time, I got the fineness I needed for a good almond flour.

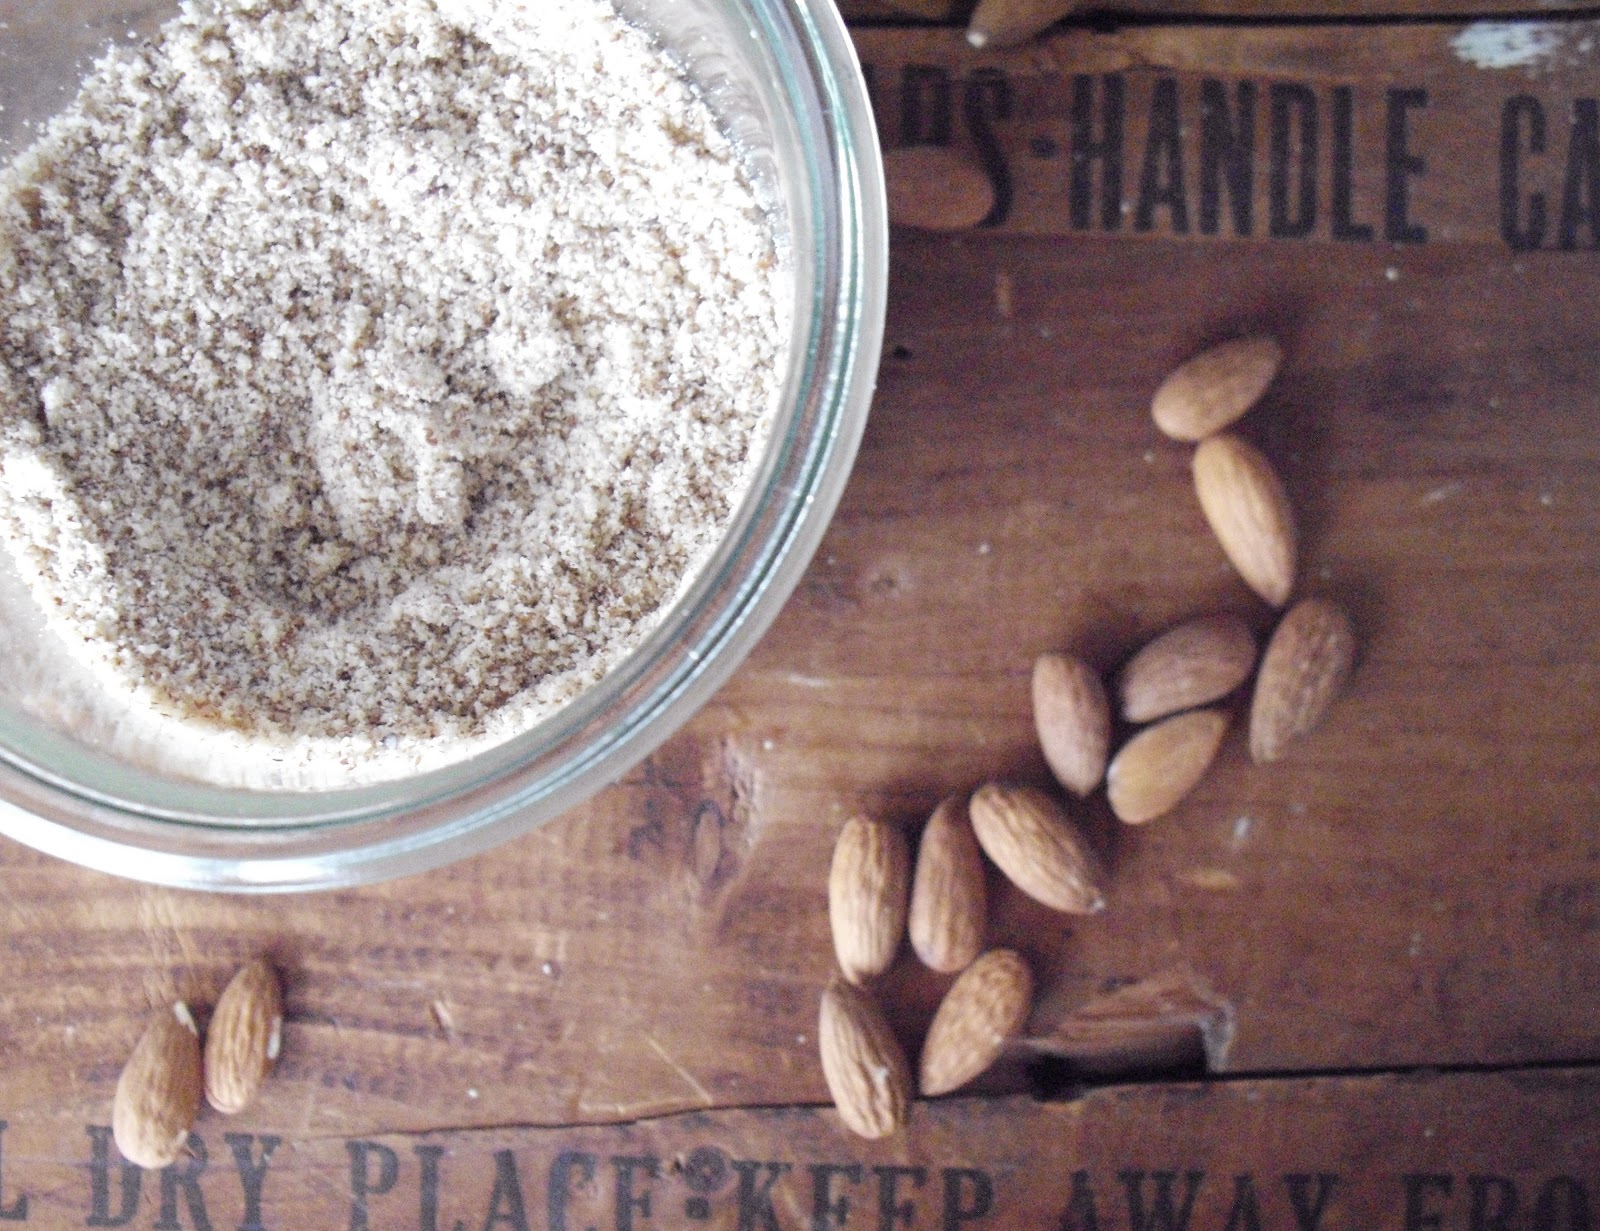
Most of the almond flours you’ll find at the store are made with blanched almonds.  I didn’t really want to blanch any almonds, so I just used raw almonds with the skins on.  This results in a little bit darker of a flour, but it’ll still work just as well.

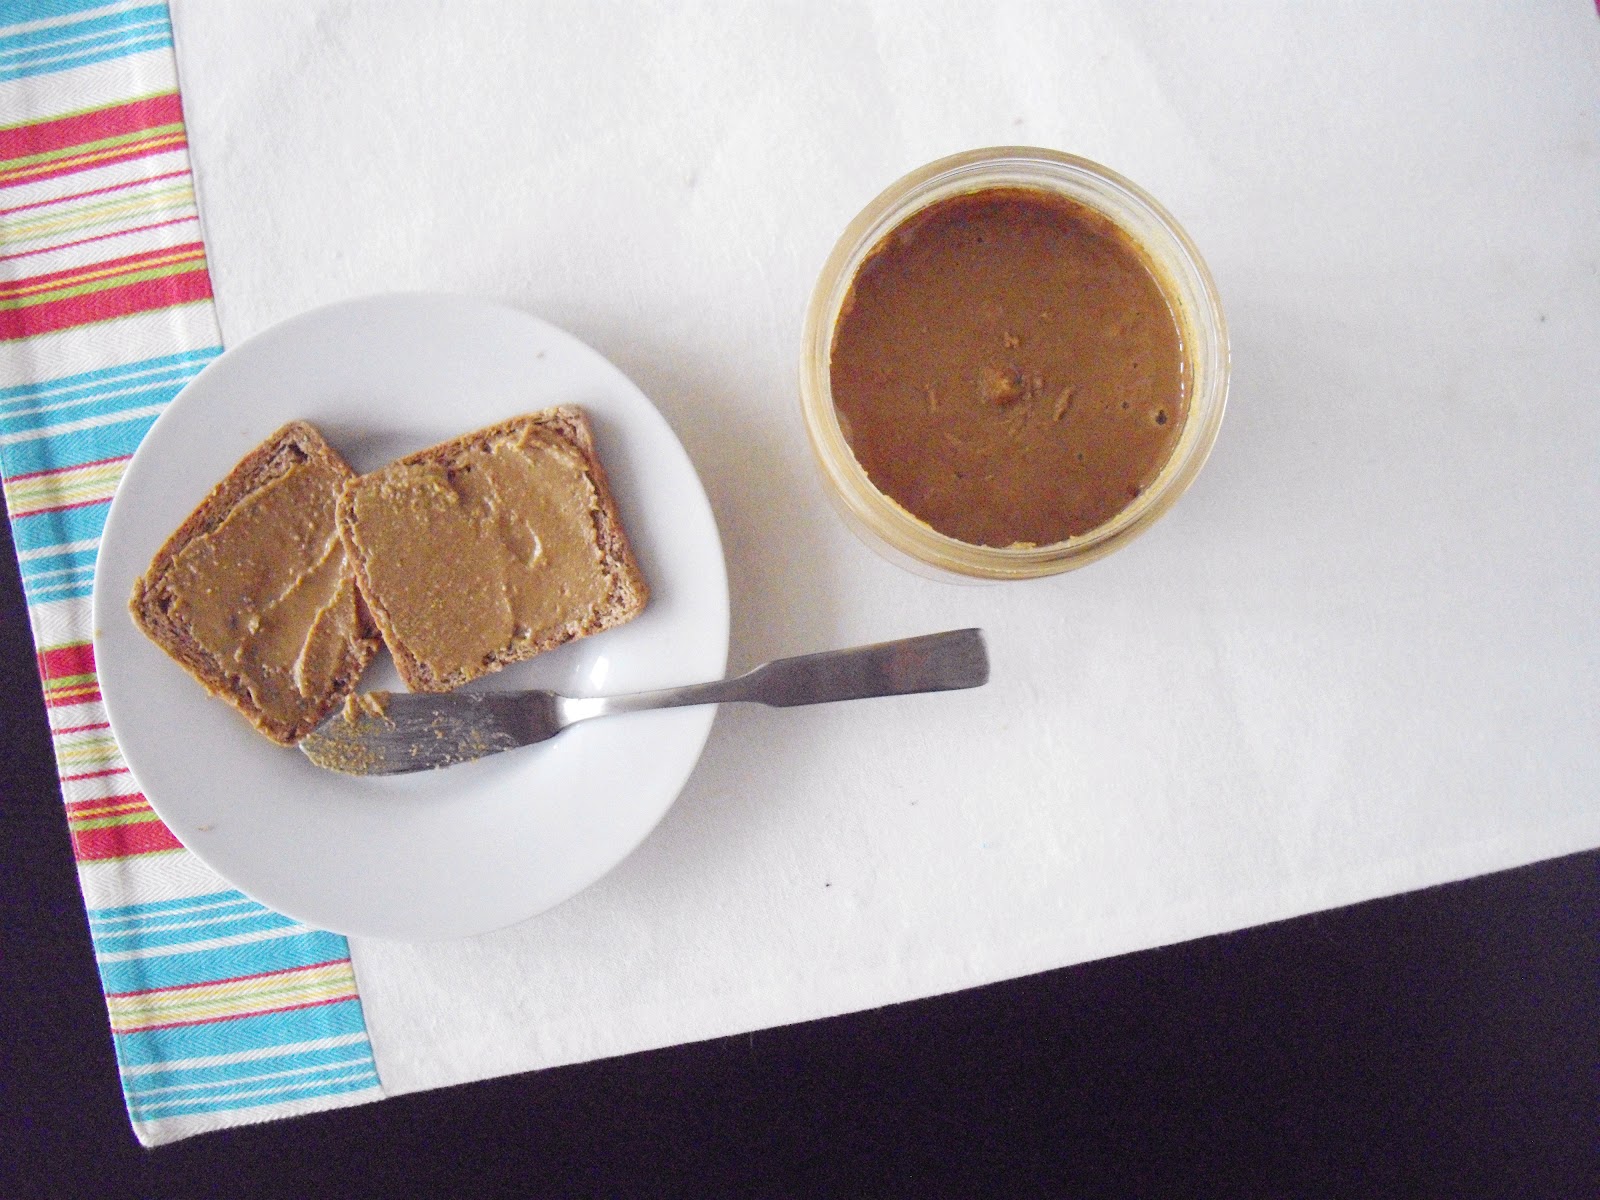
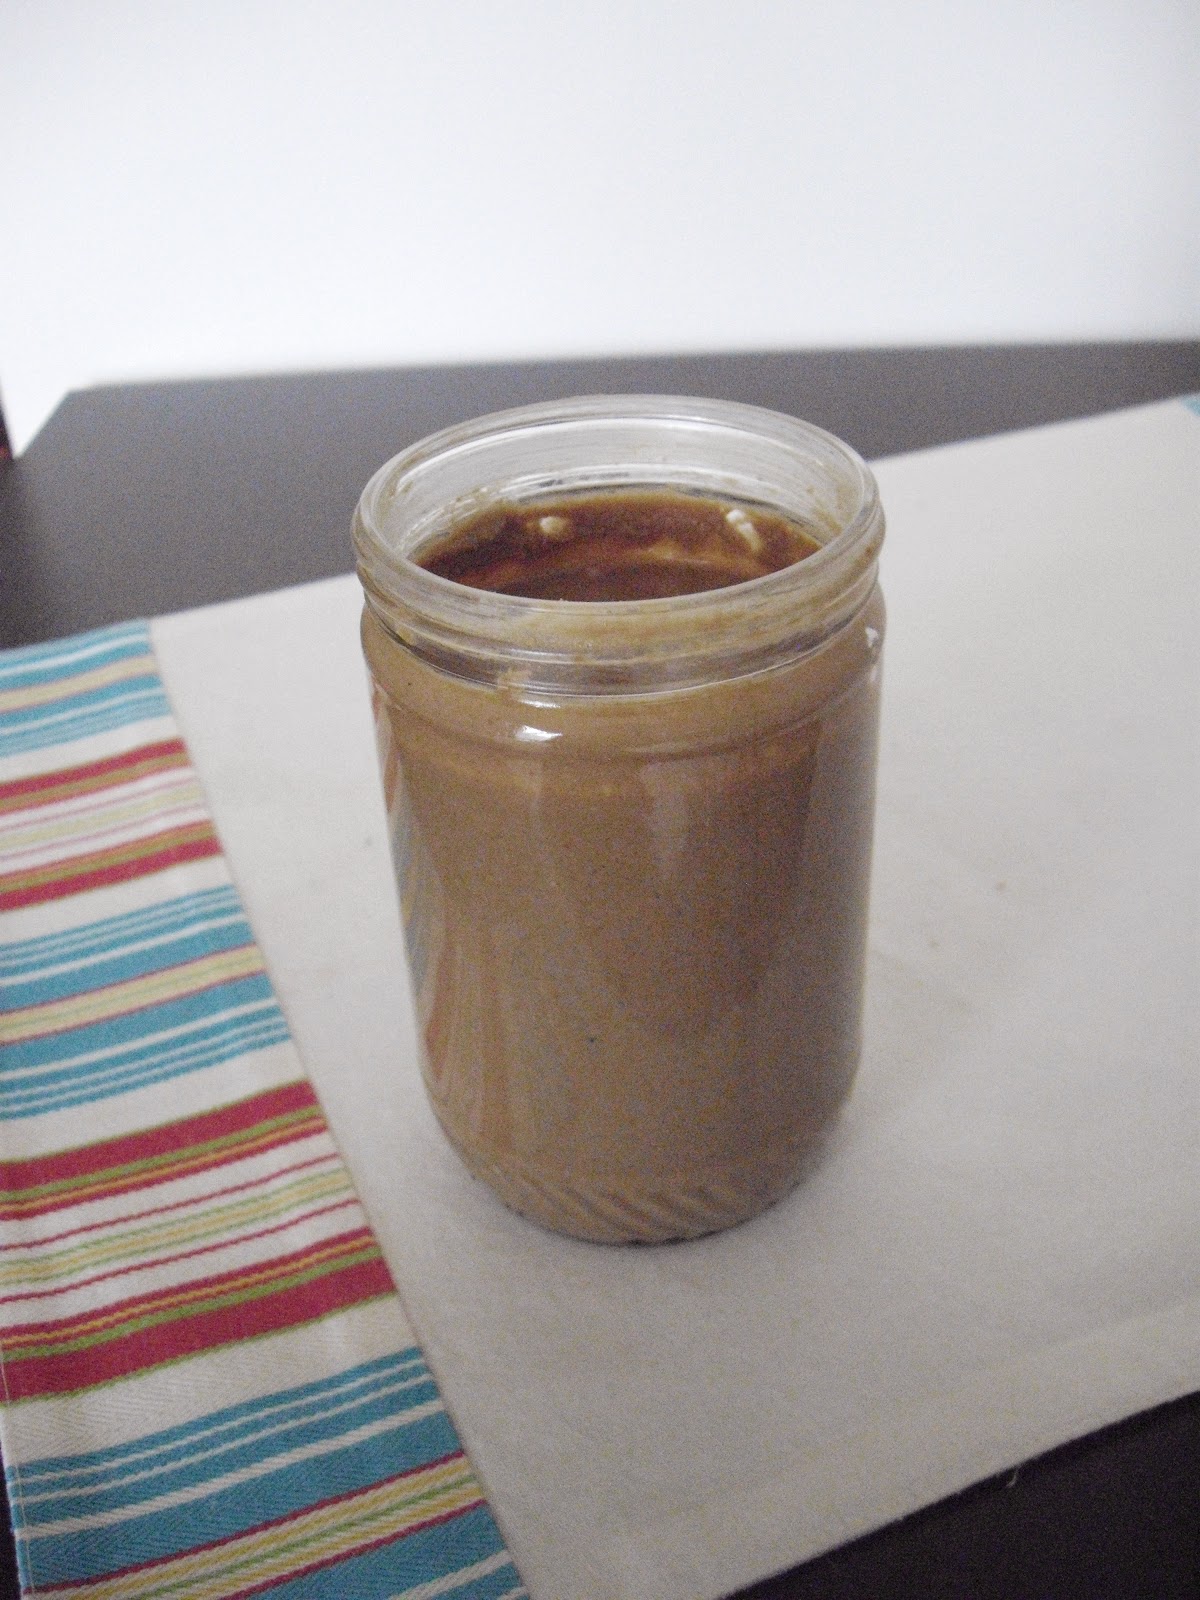
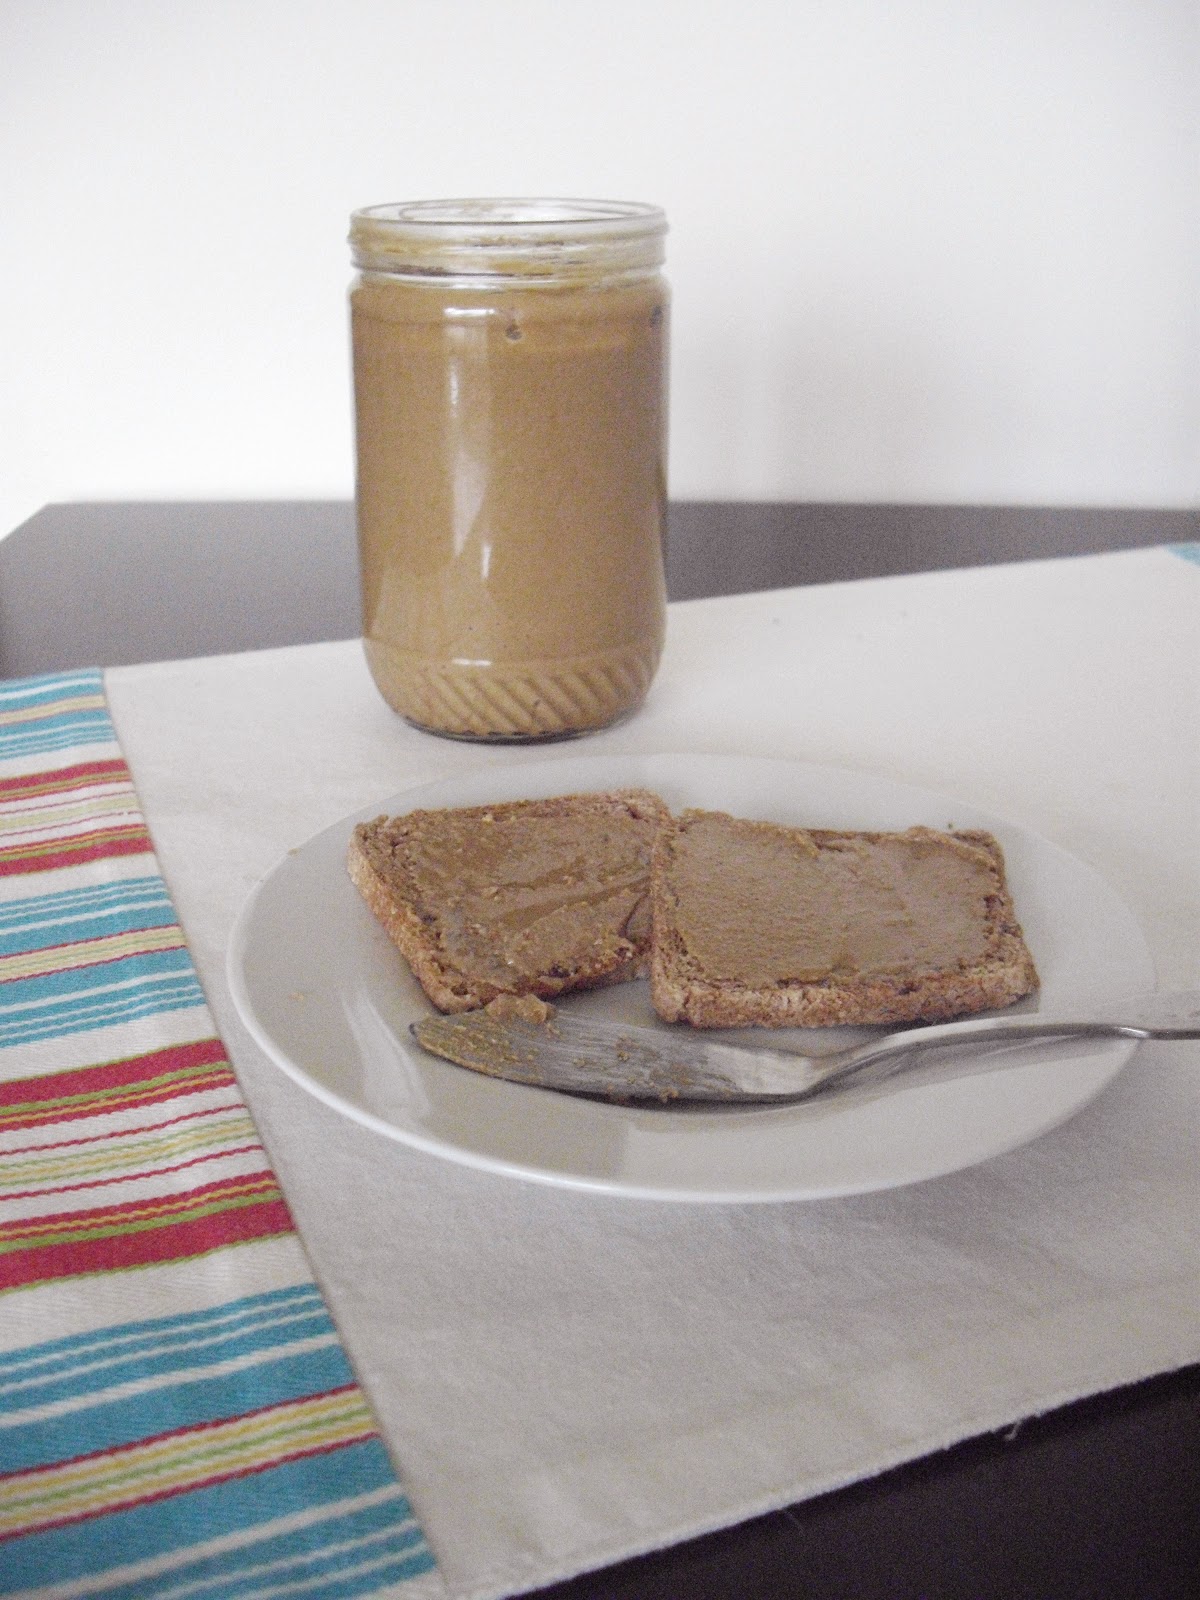
The key in making almond flour is sifting – lots and lots of sifting – to ensure that it’s fine enough to use as a flour.  While I was processing, sifting, and processing again, it got to a point where it just didn’t seem like it would get any finer, and it began to stick together.  At this point, I took what was left still slightly chunky, toasted it, and made almond butter.  If you want to keep trying to get it finer, go right ahead; I was quite happy with getting two things out of one project.  I love almond butter.
I’ll include the amounts I used in the instructions below, but you can really use as many almonds as you want, as long as your food processor can fit it.  This is definitely a much cheaper almond flour – you only need to buy some almonds!  And it’s really easy, as long as you don’t mind sifting!  I thought it was rather therapeutic, really.
Make Your Own Almond Flour
 
3 cups almonds (or any amount)
In a food processor, pulse the almonds until into fine crumbs.  Over a large bowl, sift the almond flour so you only get the fine powder from the chunks.  Pour the remaining chunks of almonds into a medium bowl.  Continue sifting the remaining almonds from the food processor.
Once done sifting, take the medium bowl full of chunks, and pulse it again in the food processor (about 10-20 seconds).  Sift again.  Repeat the processing/sifting process until you’ve sifted through all of the almonds.  Store in the refrigerator in an airtight container.
If you’re impatient like I am, and you just don’t think it’s going to process any finer (I had about one cup of crumbs at this point), make almond butter with the remaining chunky almonds.

Leave a Comment

Gluten Free Coconut Chocolate Chip Cookies

February 25, 2012

I’m a person that eats primarily sweet things.  Fruit, granola, nut butters (I consider these sweet, but it’s probably more likely to do with what I pair them with – toast, yogurt, etc.), yogurt, and then of course there’s ice cream, chocolate, cake, cookies.. I’m sure you know where I’m going with this.  This usually means that I enjoy some type of dessert every day.  A lot of the time, that’s a bowl of ice cream.  This is usually (always) chocolate, and it could be plain, or with oreos, peanut butter, coconut, raspberry.. the list goes on.  But then there are days that I realize that I probably shouldn’t be having ice cream every day.  Those are the days that I end up baking some sort of healthier dessert, or I end up defrosting some frozen strawberries and melting a bit of dark chocolate over top.  As I’ve had dark chocolate ice cream (low-fat, mind you) smothered in dark chocolate peanut butter most days this week, I decided tonight I was due for a change – a slightly more healthful change, at that.

Enter in these chocolate chip cookies made with coconut flour.  High in fiber and protein, coconut flour is light and sweet, with a wonderful coconut aroma – although it doesn’t taste too much like coconut once baked.  I used coconut oil, which has quite a few different uses and benefits, as well as butter (I have a hard time going without a bit of buttery flavor in cookies).  Dark chocolate chips.. delicious, with a few antioxidants to boot.  I also used coconut sugar in these cookies, as a more natural source of sugar than your traditional white sugar.  These cookies, with the coconut oil, coconut flour, and coconut sugar, were bound to have some coconut flavor in them; it really came primarily from the coconut oil.

If you’re a fan of chocolate and coconut, you will adore these cookies.  And even if you don’t, I’m willing to bet you’ll like them just fine, anyway.  They remind me of very subtly of the flavor in Samoas, but that could really just be me hoping; I used to love Samoas, until I realized how awful and full of trans fats they are.  I really ought to make my own version sometime, as many other bloggers out there have.. but that’s another day.

Get ready to be seeing more recipes using coconut flour from me.. I’m finding I quite love it.  I love that the flour itself has a wonderful sweetness to it.  It makes the best waffles (those need to be made again and shared, as well).  One thing you definitely need to have with these cookies, though, is a nice glass of cold milk, be it almond, coconut, lactose-free, or regular old milk.  The coconut flour just makes you want a lot of liquid – it soaks it all up so much.

I also wanted to mention that I created a Facebook page for cooking ala mel!  On there, I’ll probably post a bit about my workouts and things I don’t post on the blog.  Be sure to head on over there and like it!

GF Coconut Chocolate Chip Cookies
yields roughly 30 cookies
adapted from Chocolate and Carrots

3/8 cup coconut oil (about 6 T), melted
2 T butter, melted
4 eggs
1 1/2 t vanilla
1/2 cup milk
1/2 cup coconut sugar
1 cup coconut flour
pinch of salt
3/4 cup dark chocolate chips

In a large bowl, stir together the coconut flour, coconut sugar, and salt.  In a medium bowl, whisk together the eggs, vanilla, milk, melted coconut oil and butter.  Pour the wet ingredients into the dry ingredients, and stir to combine.  Fold in the dark chocolate chips.  Scoop by the tablespoon onto a parchment (or silicone) lined baking sheet.  Flatten slightly.  Bake at 350ºF for about 20 minutes, until lightly browned.  Allow to cool on wire racks.  Enjoy.

Leave a Comment

Sunflower Seed Butter

February 19, 2012

Let me tell you something about me.  When I become interested in something, I get interested to the point of obsession.  I don’t have idle interests.  When I like something, I really, really like it.  I will learn everything I possibly can about it.  A few of these things are or have been:  Harry Potter, baking, working out, skiing, Pride and Prejudice, etc.  Well, I’ve found something else that I am completely obsessed with:  Downton Abbey.  If you’ve seen this British TV show, I’m sure you wholeheartedly agree with me.  I love everything about it – the characters, the romance, the wit, the scandal, the history – but I especially love how after I watch an episode, my thoughts are reeling for hours afterward, trying to figure out why this or that happened and what’s coming next.  And don’t even get me started on how much I adore Maggie Smith.  She’s one of the best actresses I have ever seen.  I began watching it last Sunday (from Season 1, episode 1), and I was up to date with Season 2 by late Tuesday night.  I couldn’t stop watching it.  If you haven’t seen it, I couldn’t recommend it highly enough.  The entire first season is on Netflix, so if you have Netflix, get to it!


While we’re discussing my obsessions, I often get obsessed with different ingredients or foods, too.  Like how I’ve had a green smoothie almost every day for the past 2 or 3 weeks.  Or how I have a banana every morning with two pieces of high fiber toast, one with coconut oil, cinnamon, and truvia, and the other with some sort of nut butter (I can’t even remember how long this has gone on, and I’m still not sick of it). When I got my first jar of sunflower seed butter from Trader Joe’s, this turned into one of my new favorite things to eat.  I started having it every morning slathered on my slice of toast, and I never looked back.  Until my jar was empty, that is, and I discovered the only sunflower seed butter I could find around here was the Sunbutter brand at $5.99 a jar.  No way was I going to spend that much money with how fast I was eating it.  There aren’t any Trader Joe’s near me, so I decided I would make my own (look here to see how that turned out).
With a new food processor and 5 lbs of raw sunflower seeds, I was ready to try again.  I am so glad I did. I never have to buy a jar of sunflower seed butter again (although, let’s be honest here, I’ll probably buy some if I go to TJ’s anytime soon).  Because I’m used to TJ’s sunflower seed butter, and they sweeten theirs, I made sure to save a bit in my jar so I could do a taste comparison to make sure I got it spot on.
I can’t wait to slather this on my toast in the morning.  If I’m able to save enough of it, I might just have to make some more of those sunflower seed butter scones.  They were delicious.  But that might have to wait for the next batch.  I don’t see this jar lasting very long.
Do any of you have things you love to the point of almost obsession?
Sunflower Seed Butter
makes 1 16-oz. jar
 
3 cups raw sunflower seeds
2 1/4 t truvia (or 2 T sugar)
1 t salt
Toast the sunflower seeds on a baking sheet for about 10 minutes at 350ºF, until lightly browned.  Allow to cool.
In a food processor, combine the sunflower seeds, salt and truvia.  Run on high speed for about 10 minutes (stopping every once in a while to give the motor a break and to scrape down the sides), until they become a buttery consistency.  Taste and add any extra salt or truvia if you think it needs it.  Store in the refrigerator in an airtight container.

1 Comment

  • « Previous Page
  • 1
  • …
  • 95
  • 96
  • 97
  • 98
  • 99
  • …
  • 142
  • Next Page »
Welcome to
cooking a la mel!
I'm Melinda, a baking, fitness, and reading-obsessed pharmacist, crazy cat lady, and geek. This is my little place on the internet to share mostly healthy recipes and the occasional geeky craft. I am all about balance in every aspect of life, especially when it comes to food! More>>

recent reader favorites

_blank
_blank
_blank
_blank
_blank
_blank
_blank
_blank

mel’s current favorites

_blank
_blank
_blank
_blank
_blank
_blank
_blank
_blank
Copyright © 2024 Cooking a la Mel | Privacy Policy

facebook instagram pinterest RSS Feed email bloglovin' goodreads